

It’s been about a month and a half since I bought the van, and for those of you that have been following along on my Facebook and Instagram, you will have seen steady’ish van build progress updates since then. But I haven’t updated the blog since then, and there’s much more detailed information to share, than what we felt is fitting on social media. So, what’s happened since last time?
Cleaning
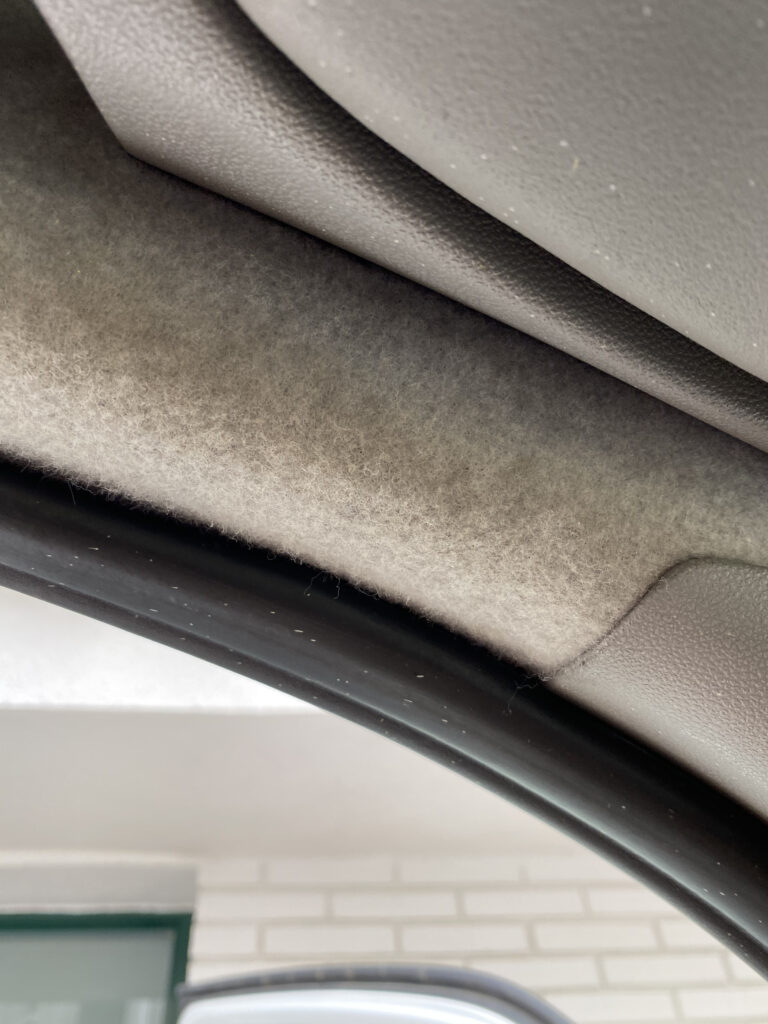
The very first thing I did was clean the thing! To be fair, it was actually pretty clean, for a van anyway, so there wasn’t a massive amount to clean. But a good deep clean of the cabin, and some steam cleaning of the headliner was in order. Especially around the grab handles over the doors were a bit grimy, having builders dirty hands on them for almost 10 years.
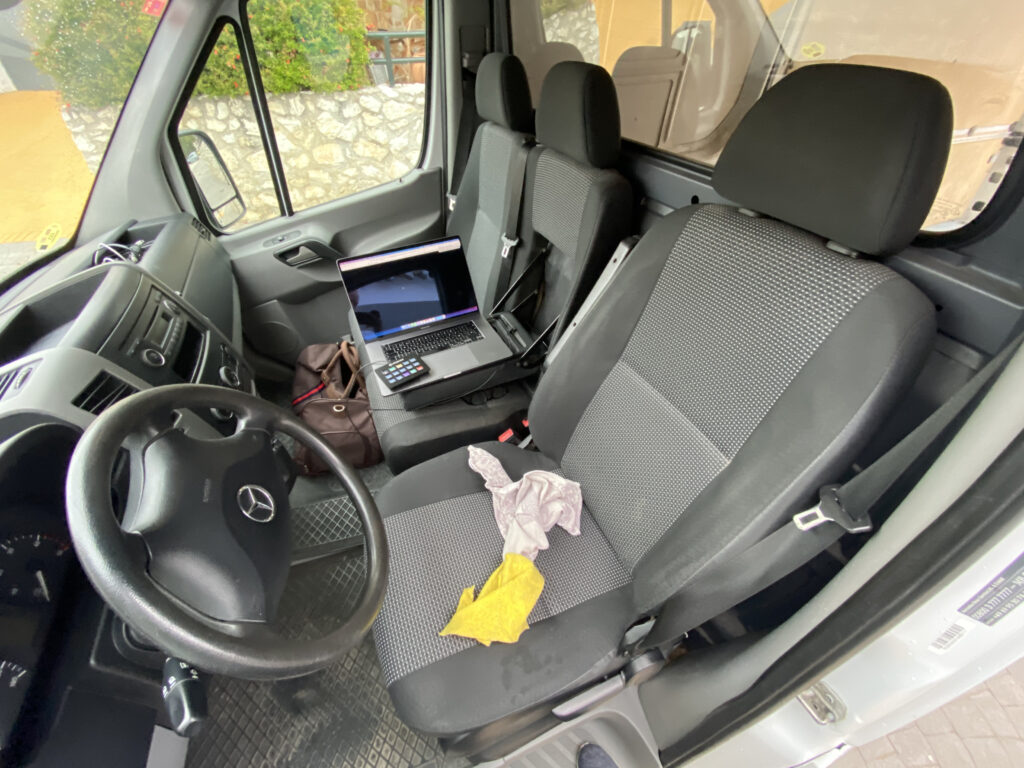
Shortly after the cab had been cleaned, it was time to clean the rest. Once again, the back of the van really wasn’t bad considering, it’s a van and it has been running all it life logging wood around for a carpenter business. I have seen waaaay worse when I’ve been out looking at vans, before purchasing this one. But even so, there was a thin layer of dirt, all over the inside. Nothing a bit of water, soap and time couldn’t fix.
Stripping & rust treat
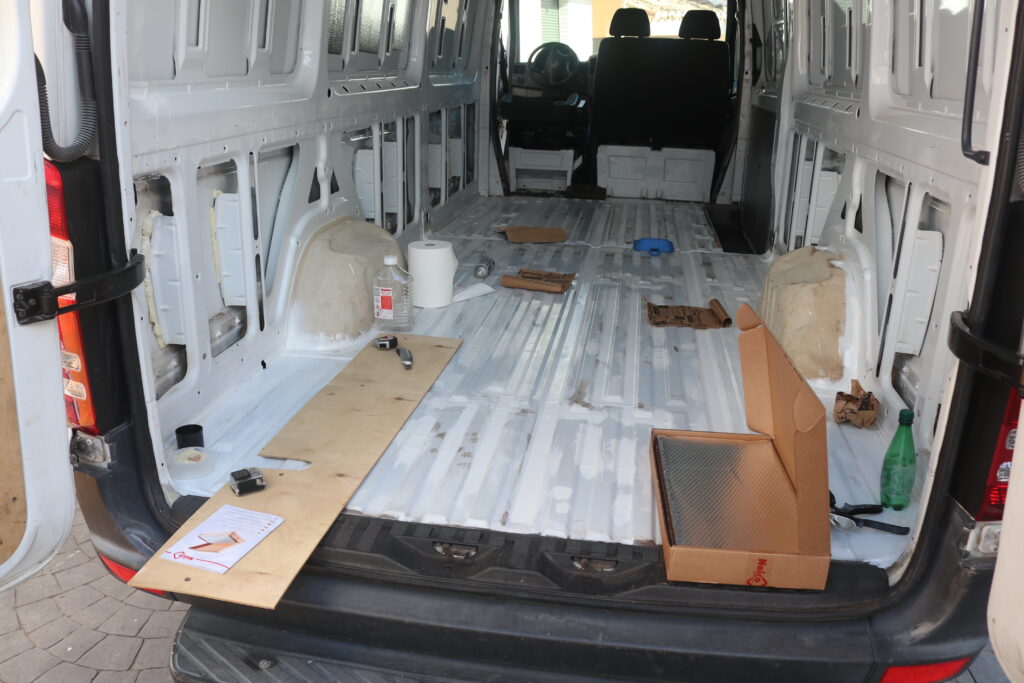
Okay, I got a clean van and I was ready to become a vanlifer! But unfortunately there’s a few jobs in between now and the beautiful sunsets over the sea, laying in the bed of my mobile home. One of them being that I actually need to build the damn thing… Another was more manageable – we needed to strip all the plywood panels and take the floor off.
Go subscribe if you want more video content.
But in essence, I needed all the panels to come off the wall to make room for slats and insulation, and the same deal for the flooring. The only difference was that the stock floor would go back on after the insulation was done, because the floor the van came with, was in pretty good shape, and that amount of 10mm plywood would have been pretty pricey to replace. The wall panels wouldn’t be reused, as they were’t all in great of a condition, and they were only a few millimeters thick, making it tricky to secure anything to them, should that be needed.

Starting to strip the panels 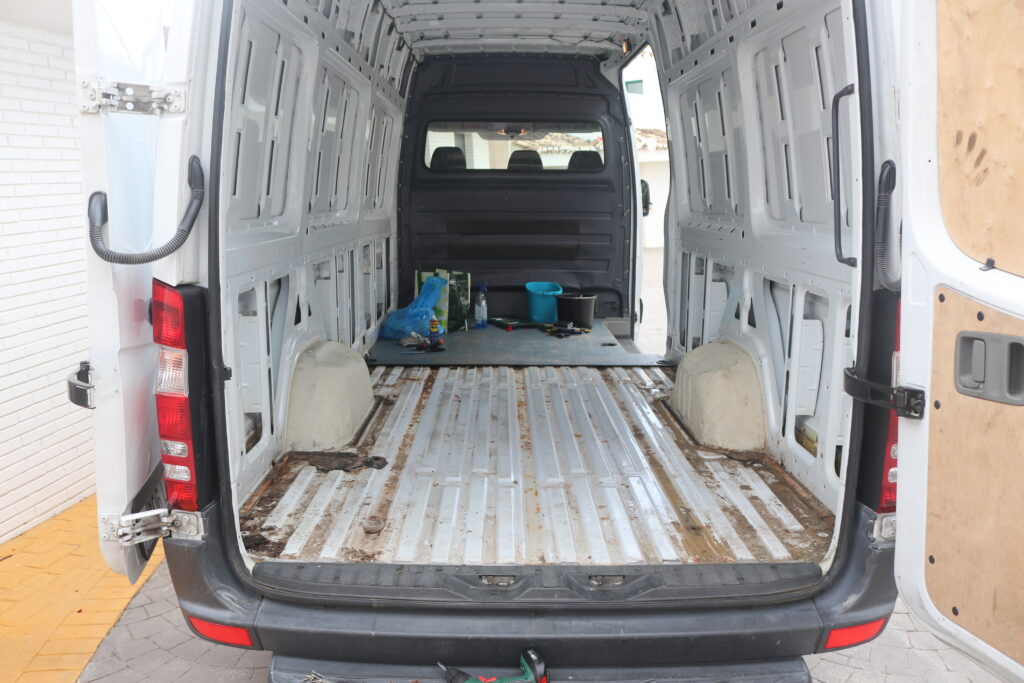
Half the floor out 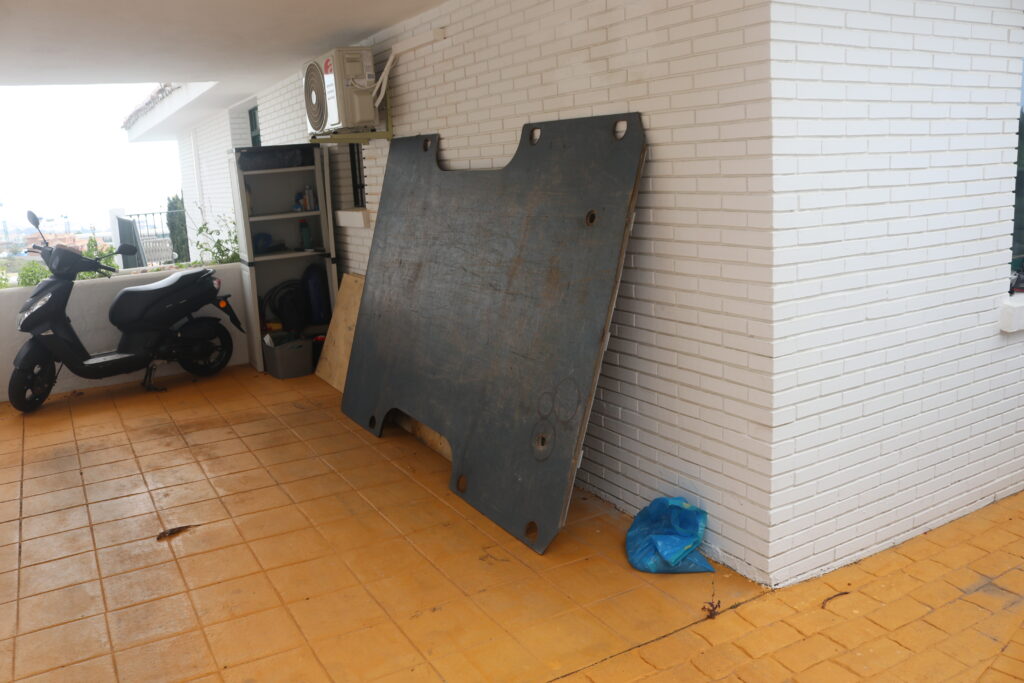
Flooring while stored
The biggest job stripping the van, was definitely the floor. Not only was several of the bolts securing it to the bottom of the van completely seized, meaning that I had to cut them off with an angle grinder, it was also just big and unwieldy.
After getting the floor out, which sits in two sections, the bottom of the van had to be cleaned, before I could assess what rust issues we had. Luckily, it wasn’t too bad, especially considering this van has been driving it’s first many years in Germany, where roads are typically salted in winter time. I did however have some surface rust, and one spot where it had gone all the way through.
I gridded all the rust off I could, treated with rust remover and then sealed it back up with an anti rust spray-paint.

Rust and dirt 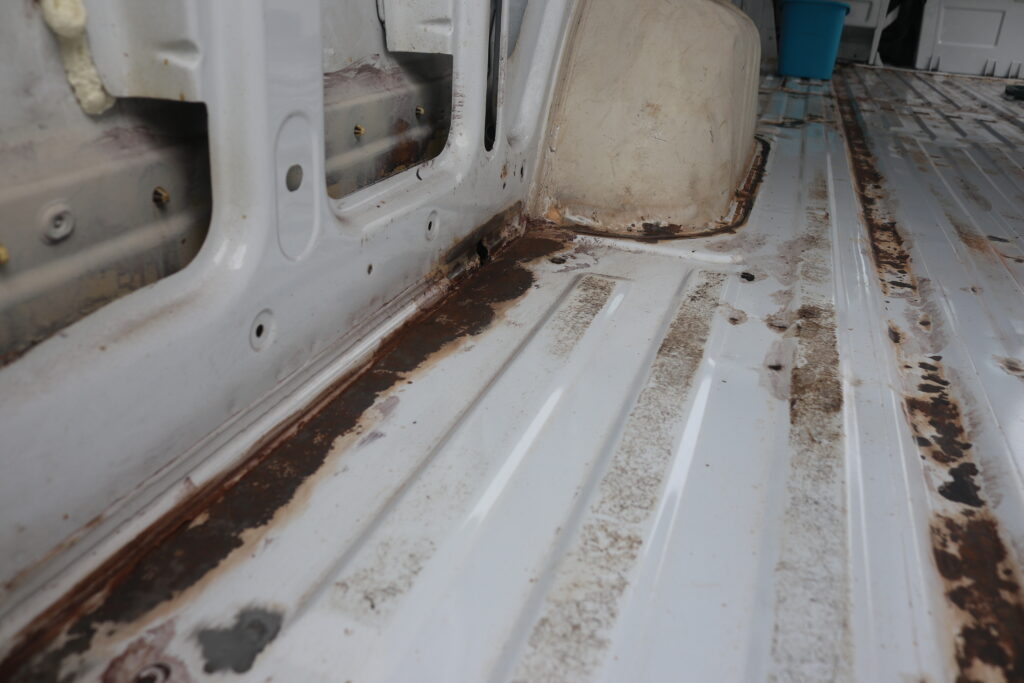
Rust was worst along the edges in the back 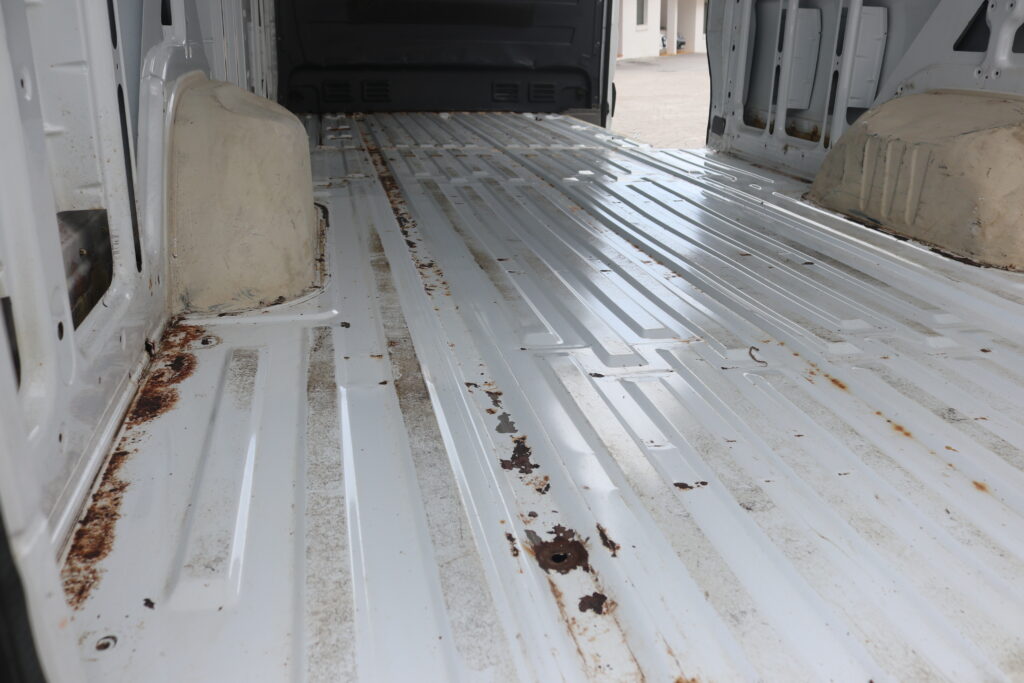
More rust 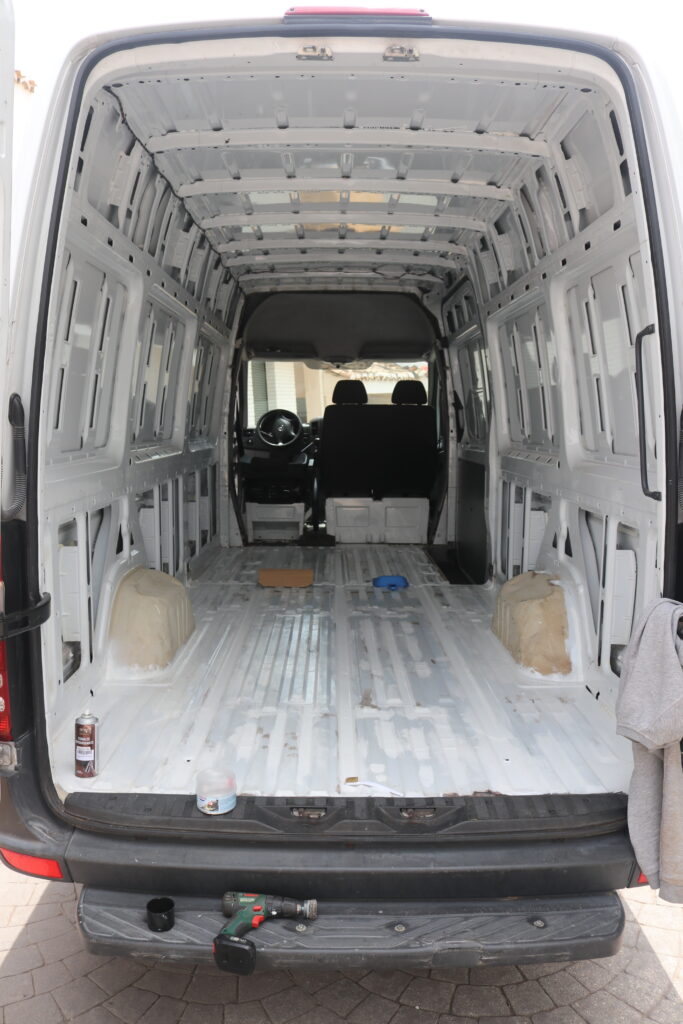
All rust removed and primed
Plug the leaks
Next step in this van build, I needed to attend a know fault of these Mercedes Sprinters vans – the damn plastic panels that run on the outside all around. For some reason, Mercedes thought it would be a good idea to mount them on removable plastic fasteners, that sit in actual holes through the side of the van, all around it! Yep, you read correctly. The van comes with over ONE HUNDRED 1 centimeter wholes in it! And yes, they leak. In fact one day, we had a heavy downpour and the water came through a few of them, and formed a nice little puddle on the van floor. You can probably imagine this being a bit of a problem since you will eventually have floors and walls, with insulation in them, and common for all of if is that water is really really bad. So I had to get to work and plug all those holes, sealing them up with loads of Sikaflex.
I did also have a tiny leak on the roof, only visible by the tiny bit of corrotion had happened, as I never actually saw water getting in, but I sealed it up both from the inside, and outside, again with tons of vanlifers best friend, Sikaflex 221!
Sound-deadening
Alright, I was finally getting to some of the more interesting stuff! Putting things in the van instead of taking things out, or fixing issues. Sound-deadening is done to try and prevent some of the vibrations and quieten down the big metal van walls. Supposidly it also helps block sound from the outside, for example when I will be trying to sleep in there, but I am not sure how much difference it really does there. I installed it mostly to make the walls sound more “solid” when tapped, and therefor also when bumping down a gravel road in the (near) future, to make the actual driving more pleasant.
Noico sound-deadening 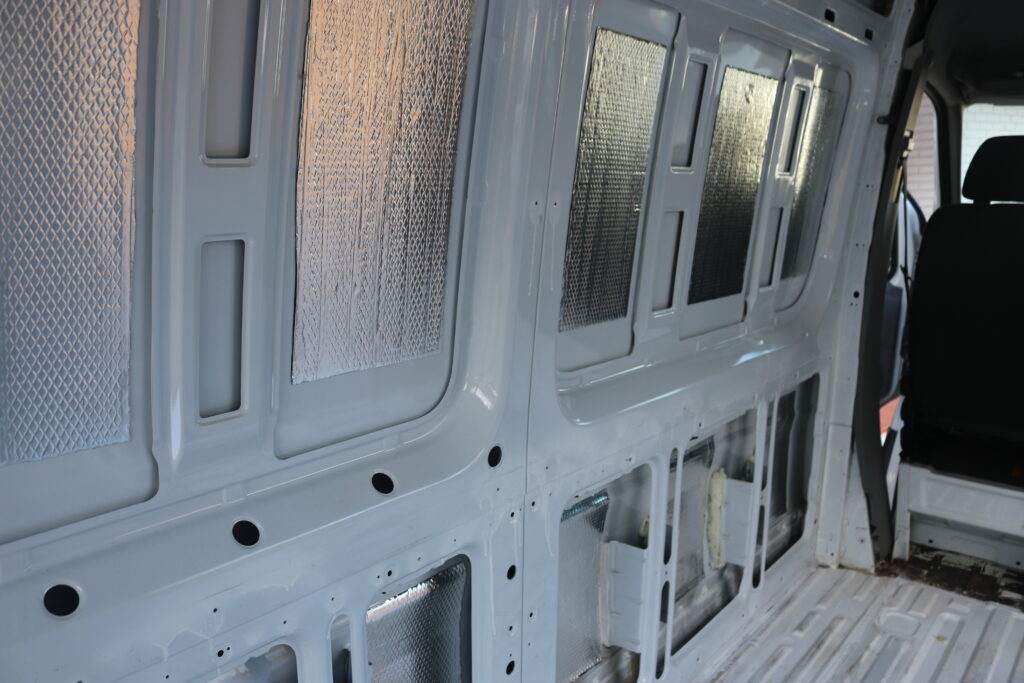
Covering as much of the flat space as possible 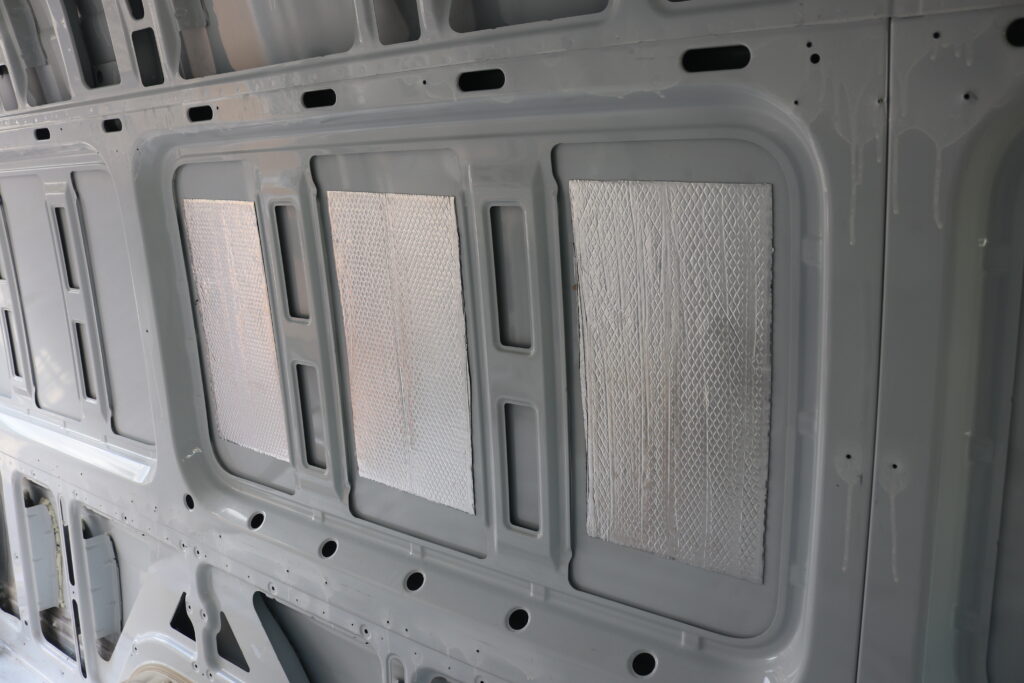
Looks like a space-van now
There are many different makes of this stuff, and some swear by one or the other. Some say it doens’t make a blind bit of difference, but considering it is something we cannot add later, we thought it best to be on the “safe side”. The stuff I used is called Noico and it fairly pricey, but you do not need to cover every single bit of your van with it. We think.
Let there be slats
Okay, now the work really began! I had reached the stage where we needed to start slatting! Okay, what is that?! Well, I don’t know if I just made up a word there but I am going with it! Slatting it is.
When building a van, you need something to attach walls, ceiling and all the elements like benches, units etc, to. Some just attach straight to the van walls and ceiling but it’s generally not recommended as a) there’s a much bigger risk of condensation, b) it leaves less space for insulation and c) you’ll really like to minimise the amount of holes you drill in the van itself. So for the floor, I went for some relatively low profile slats (FIND OUT SIZE) to maximise the space inside, and hoping that it was enough for the floor to “bite into” when putting that down again.
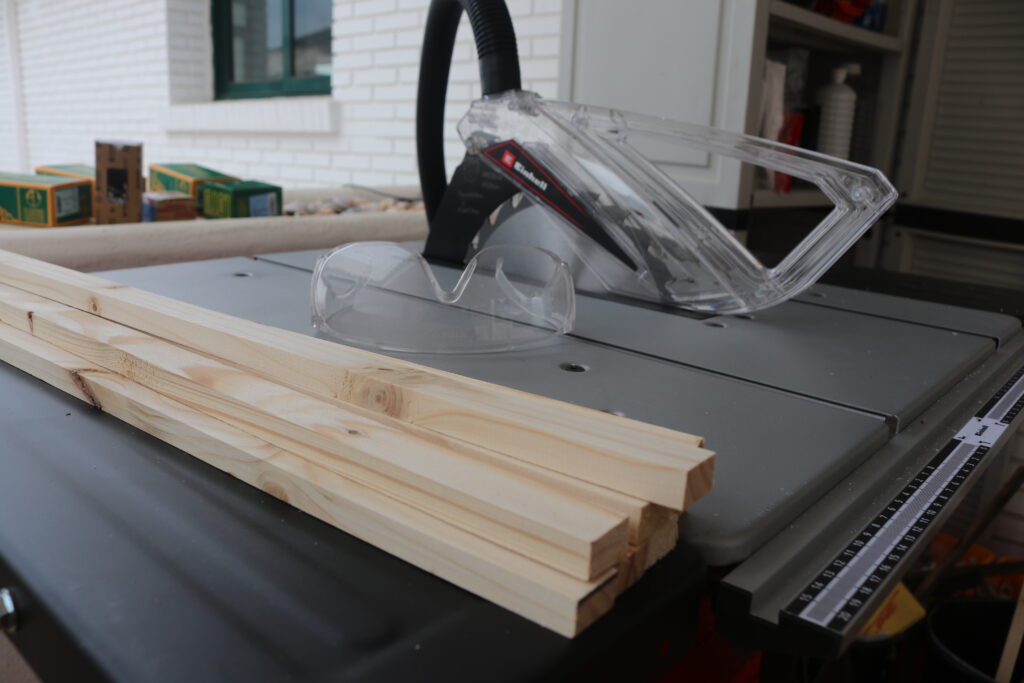
Slats being cut on my new tablesaw 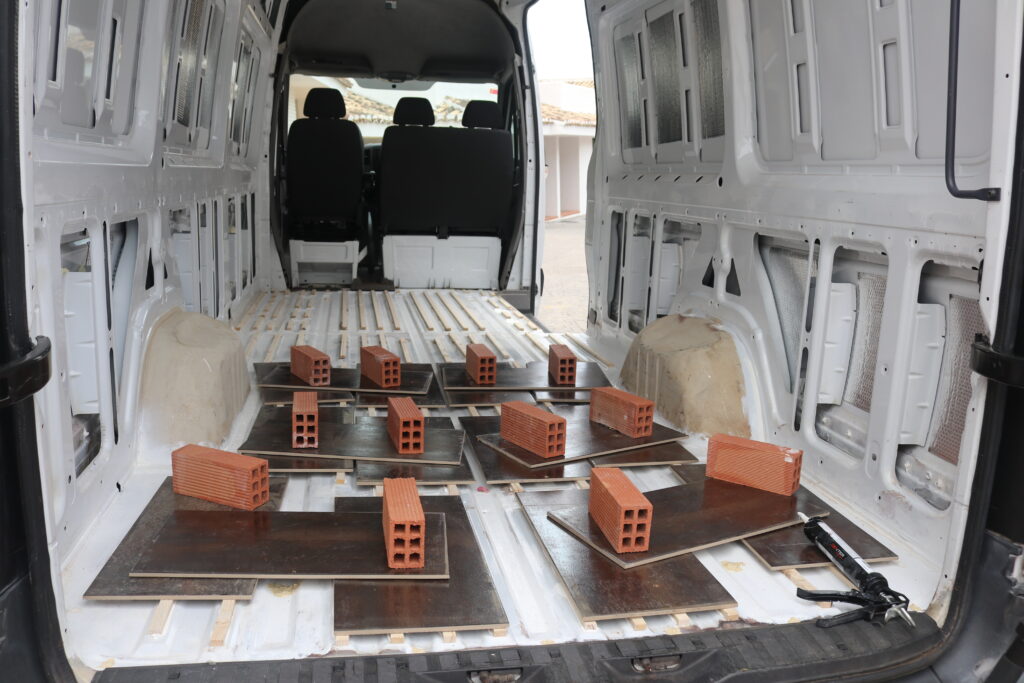
Weighing down the slats while the Sika dries
I decided to put slats on every single surface that made sense, using more Sikaflex as I did not wish to screw anything through the van floor, in fear of leaks, rust etc. These slats being exactly 13mm high, and the grooves in the van floor being 7mm deep, they would give me a total of 20mm room for insulation in the floor. This is actually a bit less than most vans I see, but we had to keep the floor low as I am quite tall, and I figured that insulation in the ceiling would be more important as heat rises. That did pose a problem though, as the insulation material I had chosen, XPS, did not come in a 20mm thickness! Smart Tomas. And as I did not want to insulate with Rockwool, cotton, denim or anything that could soak up water, should a leak happen, I was left with one thing. Lots, and lots of spray foam.
It’s a van build foam-party
Spray foam was not my first choice for insulating the floor, but it turned out to be the only realistic way to insulate properly, with minimum risk of maintaining moisture should a leak happen, and still maximise the standing hight of the van. So I began a several days long process of putting down spray foam over 3 times, and then the extremely messy job og cleaning it all up so that it aligns with the floor slats.
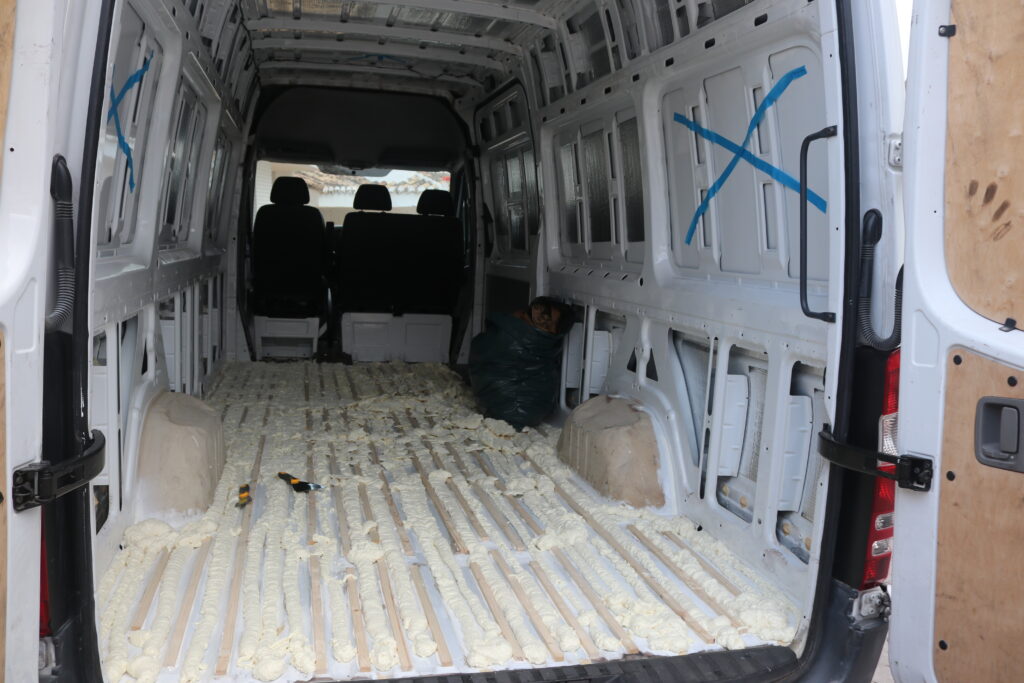
Spray foam 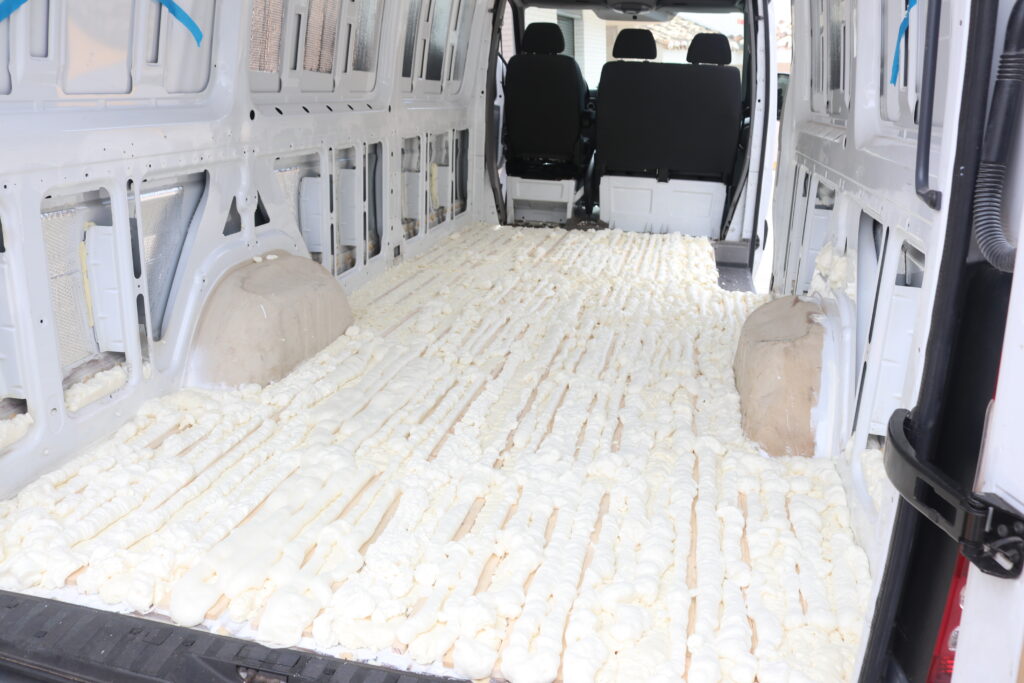
More spray foam 
Working on leveling the floor insulation 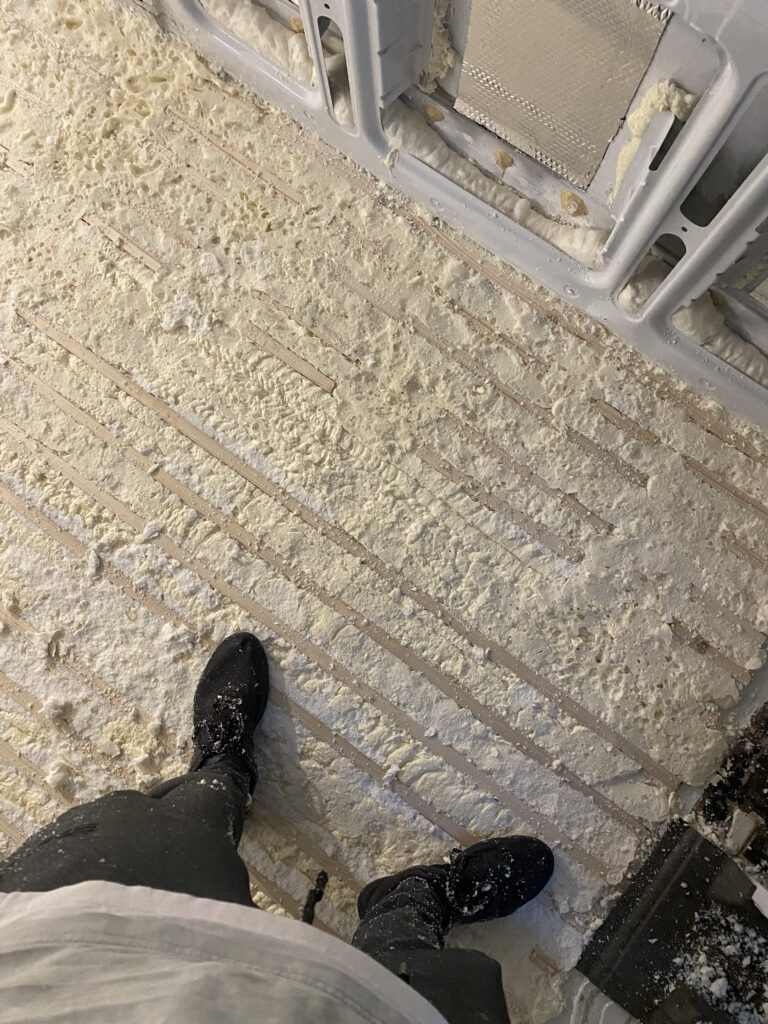
Very dirty job 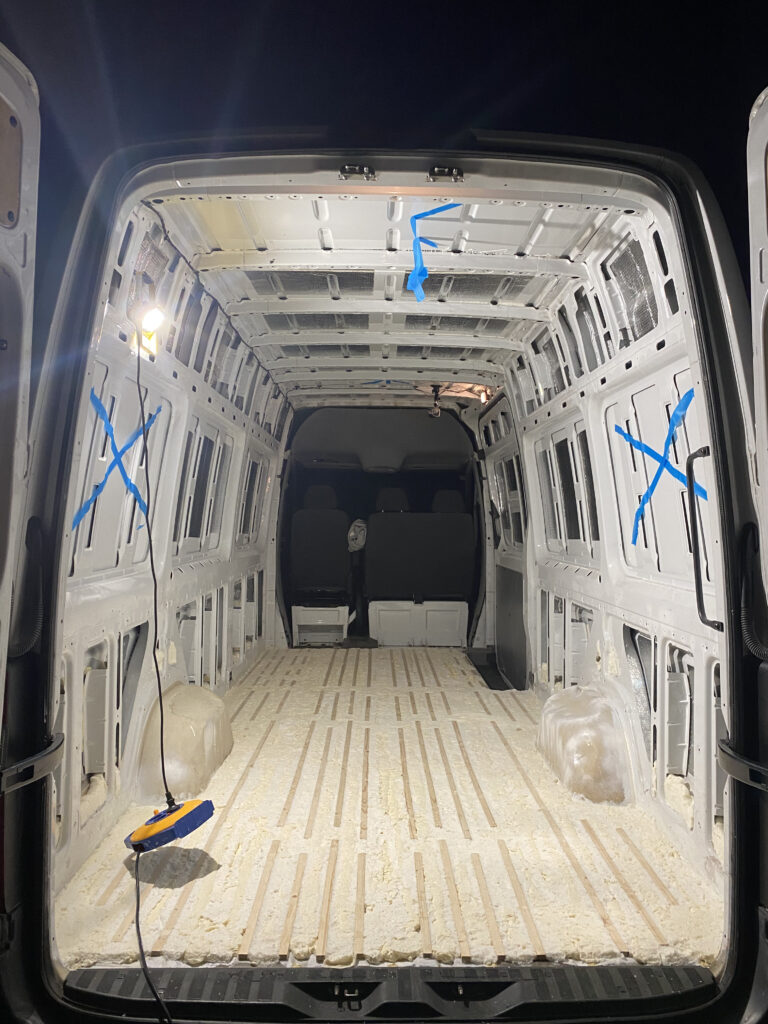
All done
It turned out to be really tricky to just cut away the excess foam with a craft knife, so I started using my power-drill with a metal brush bit on the end. The same metal brush I had used to grind away rust actually. This went much quicker, but did also make one hell of a mess, as you may be able to see from the pictures above. It took me one very late night, getting it all levelled perfectly with the floor slats.
Floor back on
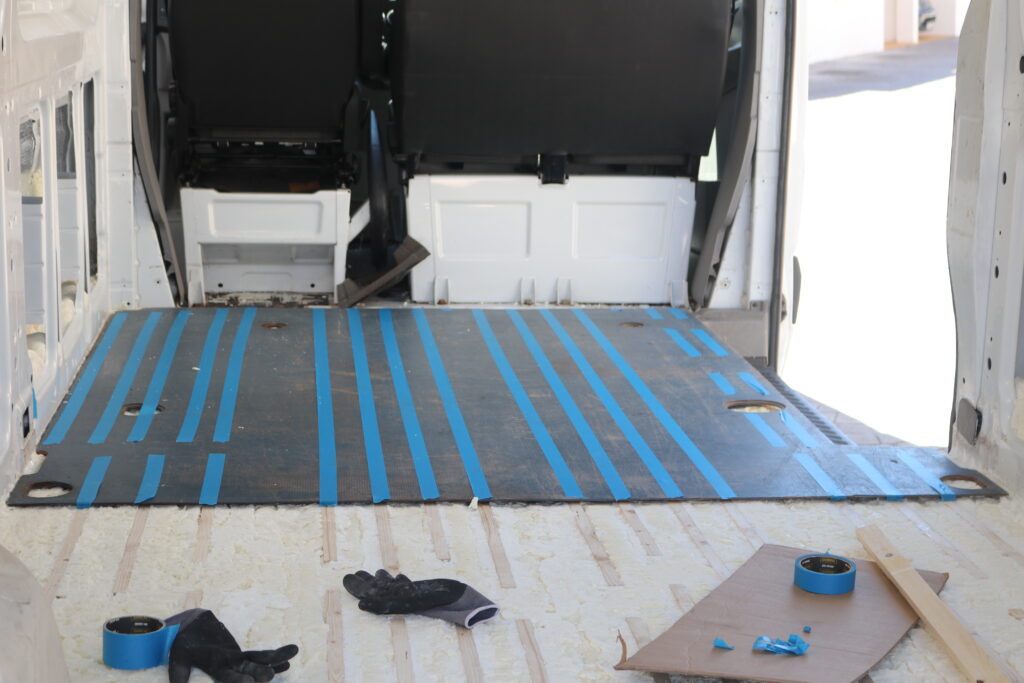
After having glued in all the floor slats and finished the insulation, it was time to re-install the factory floor, which I would be using as the sub-floor. On top we will later install the finished flooring. As we had raised the floor about 13mm by adding the slats and spray foam, and because some of the bolts that held in the floor before had seized and had been cut off, I couldn’t install using those same bolts and holes. So I had filled them all in with a 2 component epoxy and covered them in Sika and spray foam. The floor would therefor go back on where it used to sit, only now it would be screwed in place, into the slats below.
And that posed a bit of a challenge. When putting that floor back on, how to know where the slats are located underneath!?
Half the floor down 
Blue tape to guide the screws 
Sub-floor is finished
The solution ended up being loads of blue painters-tape on the top, that I eye-balled to where the slats underneath where located, by lifting up the flooring slightly when applying the tape. At least this gave me some rough guidelines to work from, and while it wasn’t a 100% accurate solution and I did end up doing a bit of trial and error when screwing in the floor, it sure did help. Next van-build, I will be looking for another solution though.
I finished up the floor by filing in the holes left by the original mounting, with more spray foam.
Wall & ceiling slats plus much more spray foam
After having taped out the layout on the newly insulated and installed floor, I was ready for the biggest job up till this point – slatting the walls and the ceiling.
Measuring, cutting, pre-drilling, countersinking and screwing in all the slats on the walls and ceiling, turned into a much bigger job than I expected. It tooks weeks! Okay, bear in mind that through all this, I worked 60+ hour work weeks, but still.
Keeping the XPS in place 
Try my new obstical course 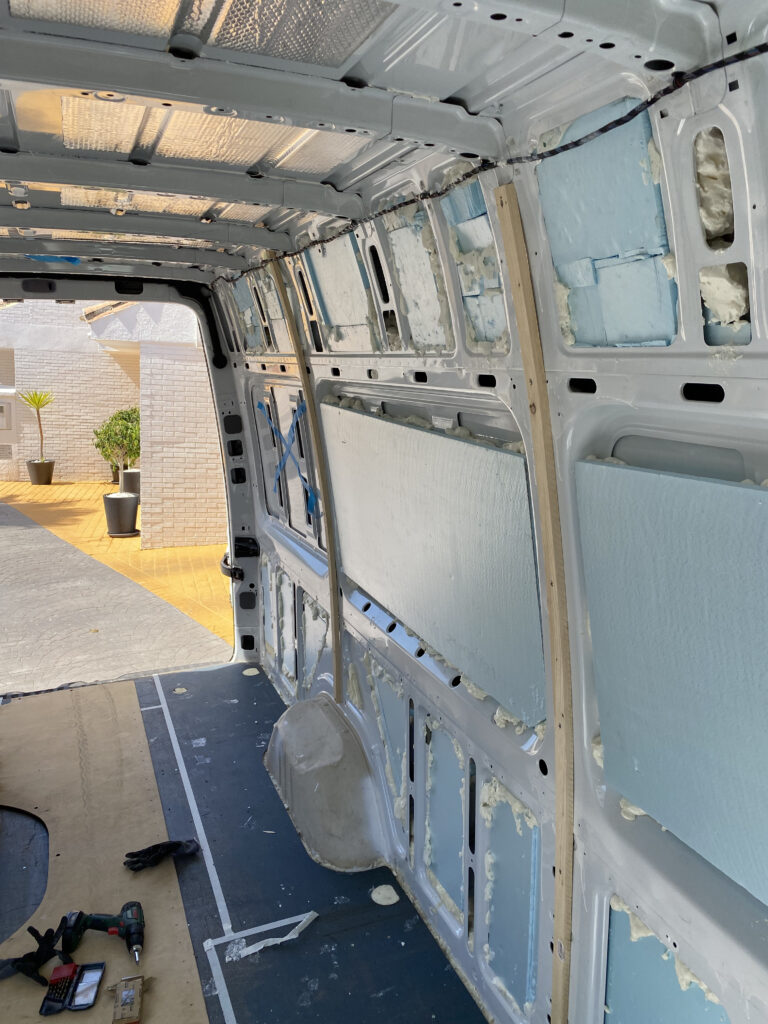
Slats coming on the walls
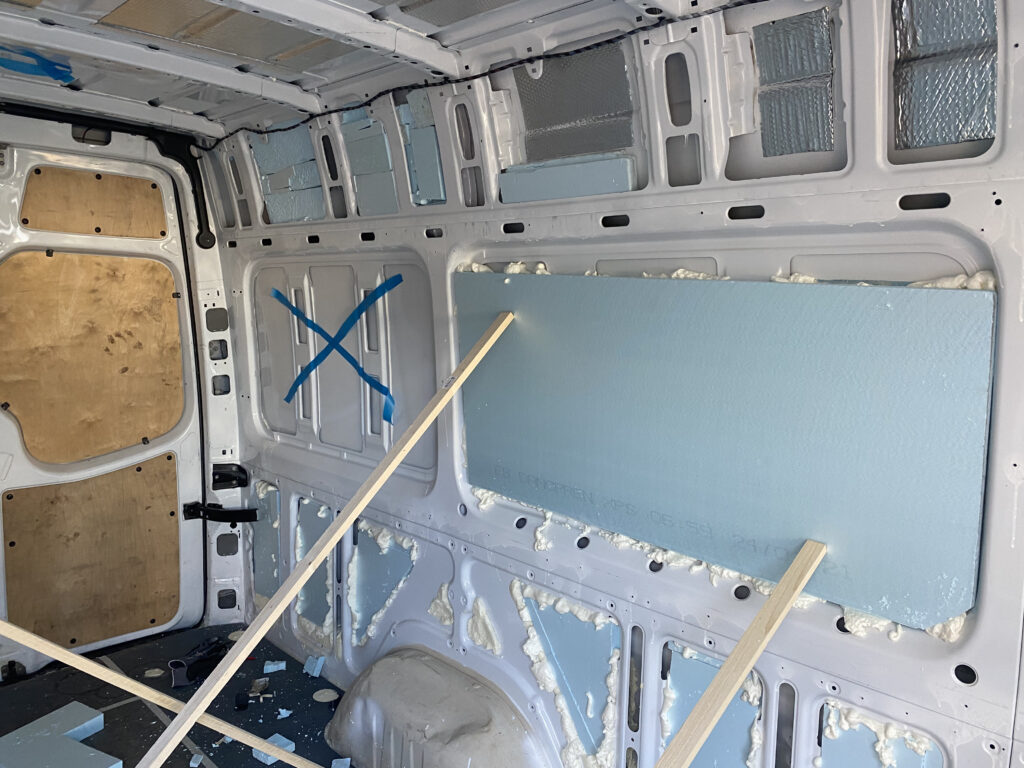
The first step however, was to insulate, and for this we had chosen a combination of XPS, Rockwool and more bloody spray foam. At this point, I was starting to hate spray foam, just a little.
XPS is a synthetic polystyrene that is quite closely related to the normal polystyrene you’ll find in the box when you buy a new TV for example. Only XPS is what is called an extruded foam, where normal polystyrene is expanded. To boil down days of really boring research into foam insulation, here’s what you need to know.
XPS is good. Normal polystyrene is baaaaaad.
Okay, around the XPS and to fasten it, more of my favourite – spray foam. And in all the little nooks and carneys where we cant really get to, Rockwool. I didn’t really want to use Rockwool as it is not the most pleasent thing to work with, and it does retain moisture if it gets vet , but I had to accept that using spray foamfor all the places I couldn’t get XPS into, would have been very expensive. Yep, spray foam is amazing but sticky as hell and quite expensive.
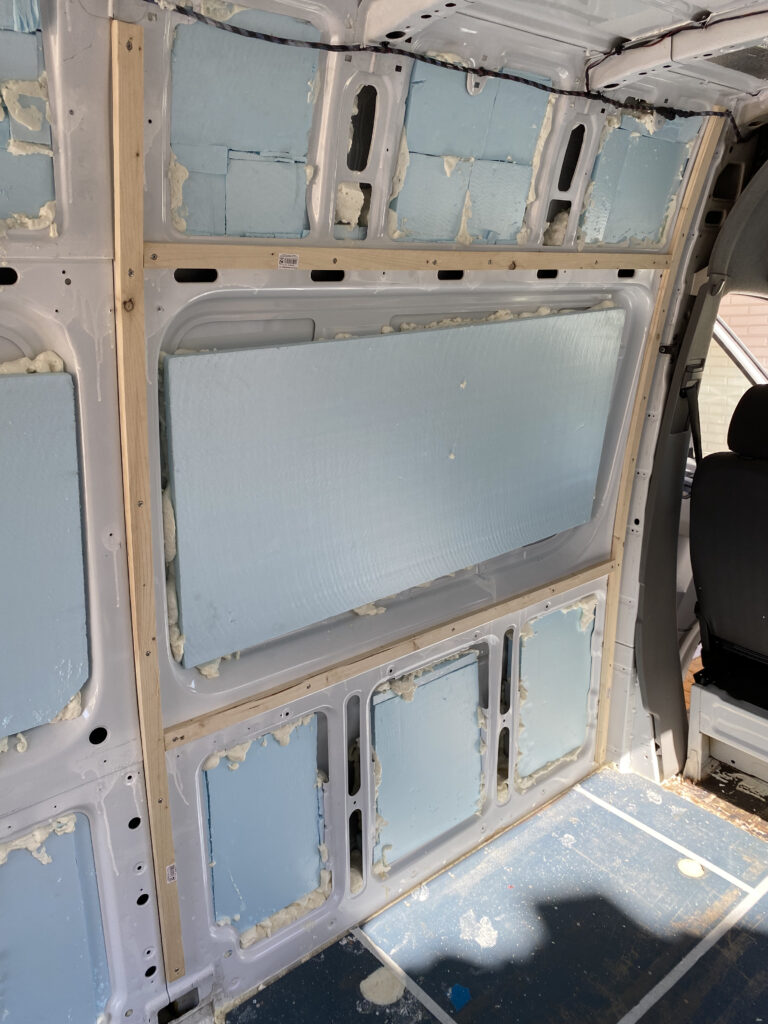
It was time for more slats – yaaaaay. On the walls and ceiling, and so much of it that I was fairly sure everything that would eventually go into the van, had something to “bite into”. We used 35mm x 17mm slats, so slightly bigger than the ones used in the floor.
One little trick here is to cut some ridges into the slats that you want to bend along the wall or ceiling. As you can imagine, nothing is straight in a van, and everything bends. Further down this blog post, you’ll find some pictures of the ceiling slats, where i made ridges for exactly this reason.
To conduit, or not to conduit
Okay, so early on in the planning, I decided to use electric conduits. I don’t blame you if you have no clue what that means, even if you have researched tons of van-builds already. Not many use them! So here’s the problem. When running all the electrics, those cables have to run behind a lot of the walls and ceiling. That is not so much of a problem in it self outside you want to make sure they don’t rub against a sharp metal edge somewhere, that may eventually go through the insulation. But outside that, no biggie right? Well, what if a cable stops working? What if you find out later, than you want to add a few more lights or something else to a circuit, which means the amperage will increase and your existing wire may not be sufficient? Well, unless you wanna rip down walls and what not, you’re shit out of luck! Unless you have installed conduits!
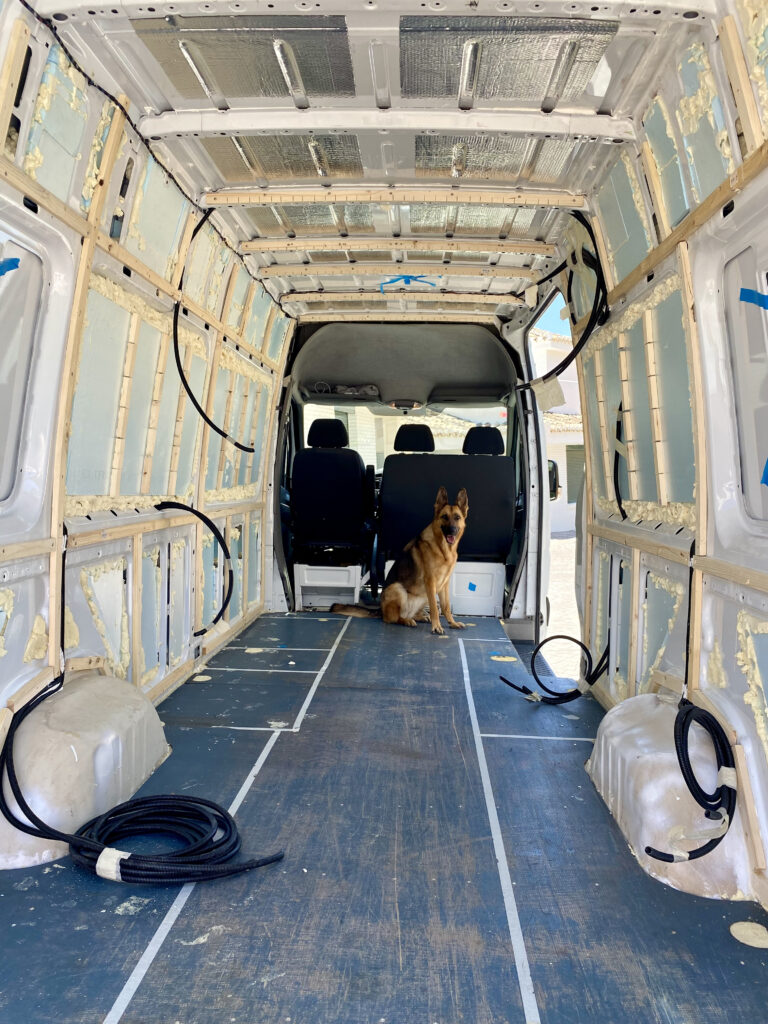
Our German Shepard, Loba, is ready for vanlife 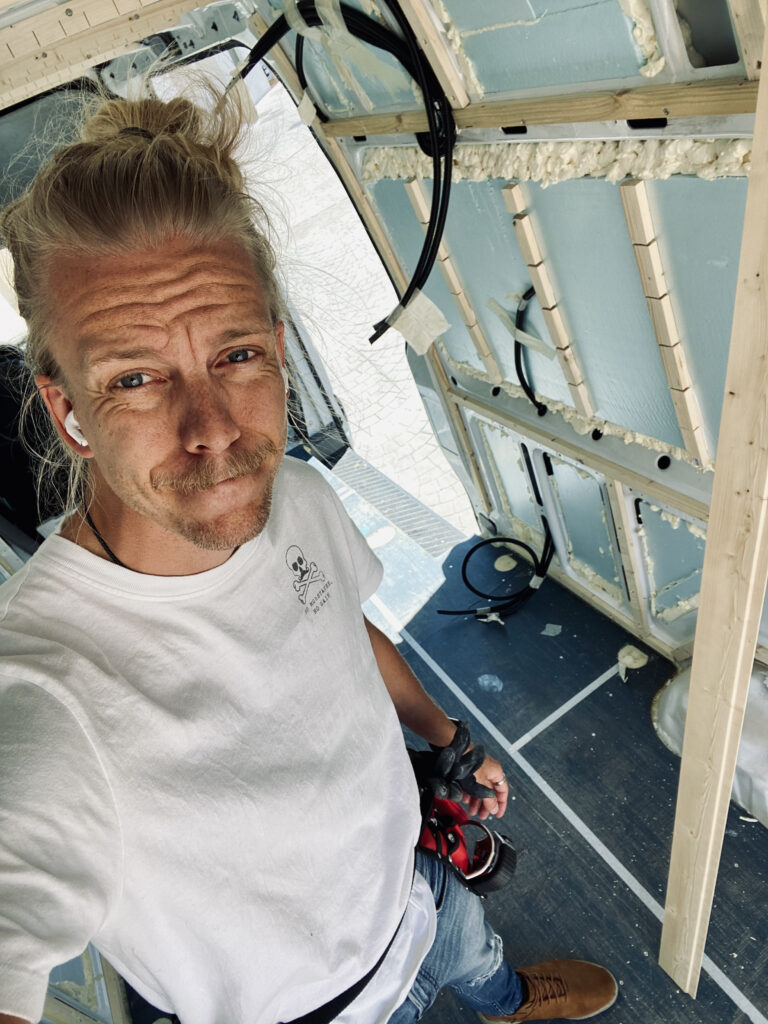
I start to look like I know what I am doing
You see all that block tubing hanging down from the ceiling, and that roll on the floor and on one of the wheel-wells? Yes, I know, the big German Shepard in the back of the shot may be more interesting, but you see the black things, right? Yep, that’s conduits.
I’ve run these back plastic tubes everywhere we are going to need electrical wires. It’s exactly the same thing you have in the walls in the house you’re probably sitting in right now. These tubes allow you to run the cables easily, safely, and gives you the option of replacing them, or adding new ones, down the road. Literally. And considering that I paid around 25€ for 10 meters of the stuff, which is way too much by the way, it seemed like a no-brainer to me.
What’s next?
After the long process of cleaning, fixing rust and wholes, sound-deadening, insulating, slatting and running conduits, I arrived at the very first thing that really starts to make the van feel like something more than just a van. Tongue & groove walls! But much more about that, in the next blog post.
Until then, be sure to follow me on Facebook and Instagram, where I share the day to day, of this crazy adventure.
Thanks for following along. 👋