

Hi everyone and welcome back to my vanlife progress update series! How are y’all doing? I hope you had a great Christmas and a happy New Year. 🎉
I have been cracking on with the build over the holidays, getting seriously close to the finishing line. But before that, I wanna show you some of the progress I made shortly before we swopped 2021 for 22!
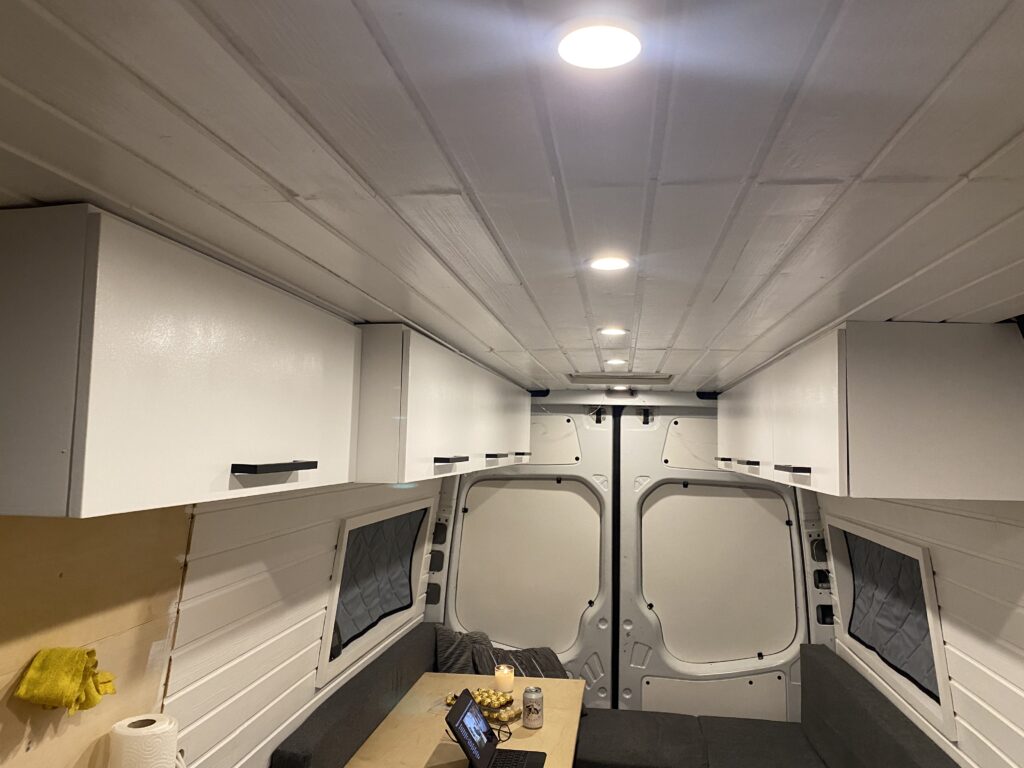
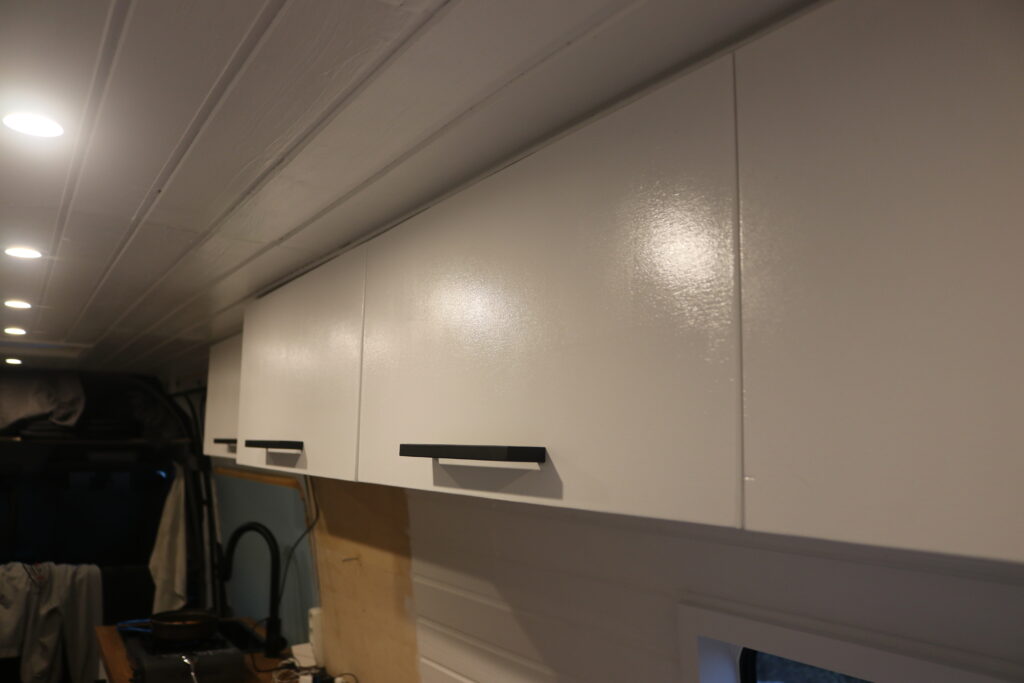
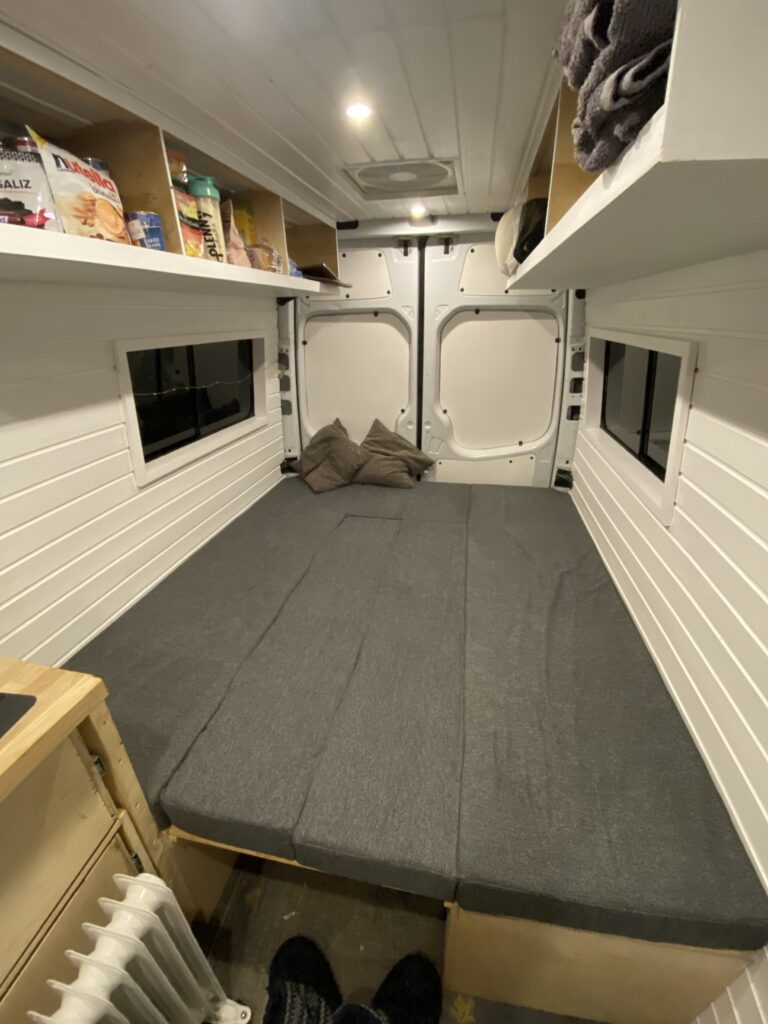
Overheads

What a huge difference the overheads made! They were the piece that really made this feel like a home, rather than a van with some ‘couchy’ seating in the back.
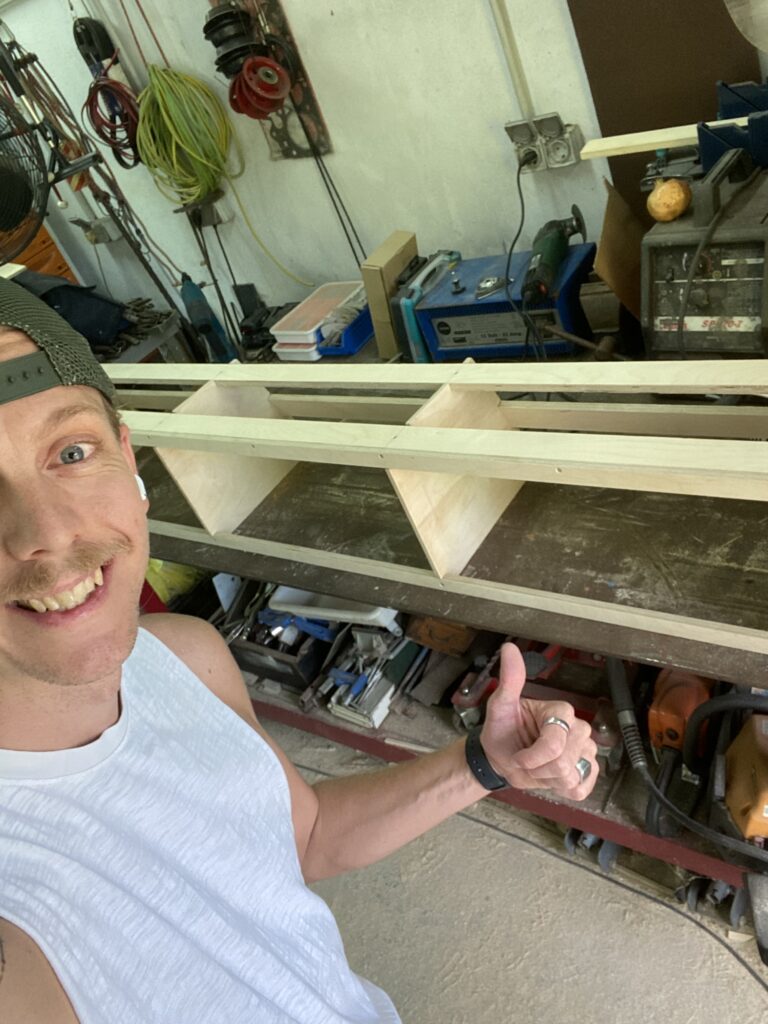
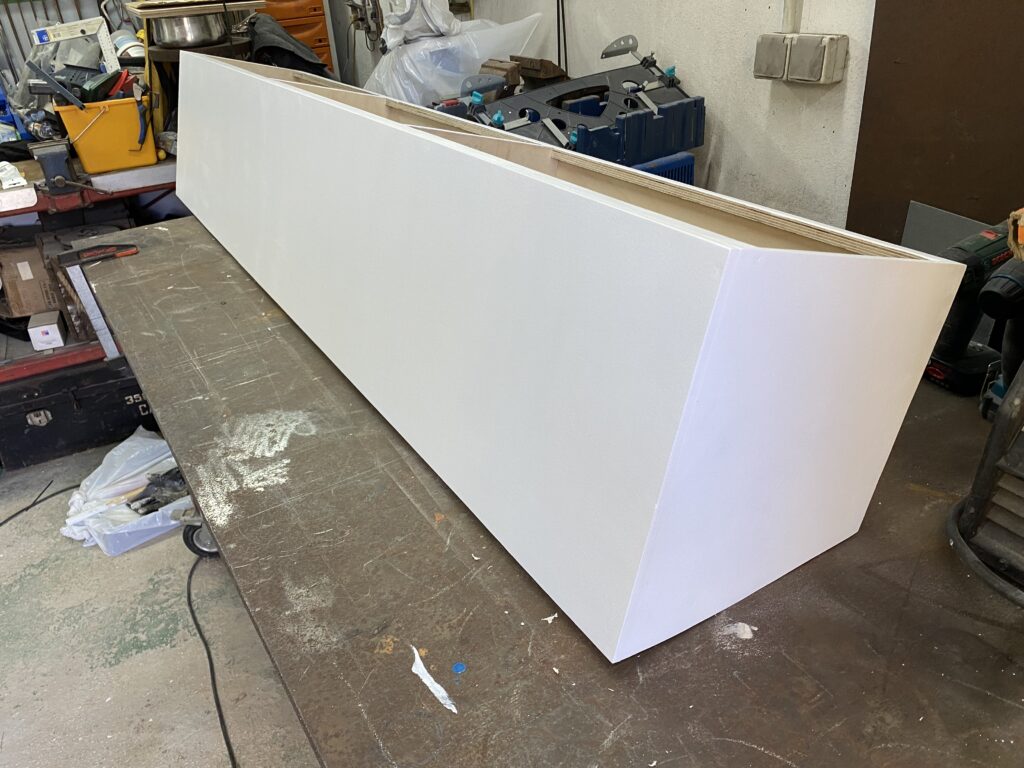
I started out by measuring out the size I wanted. The lenght was pretty easy as I wanted them exactly the same as the benches beneath them. The hight and depth however, would depend on a few factors. I wanted as much room as possible of course, but at the same time, I did not wanna bang my head on them, everytime I get up from sitting on the benches. And in terms of how far they would go from the walls towards the center of the van, I again wanted as much space inside the units, yet not feel crampt. I measured, visualised, using pieces of wood etc, to try and figure out what would work, and ended on something that is a bit smaller in both height and depth than what I see in most vans. I decided on swapping a bit of storage space, for more “air”, as I am a tall guy, and my head is up there a few millimetres from the ceiling most of the time. It sounded like a good tradeoff, and sitting here now, I am happy I did it. The space feels open and roomy (as much as a van can feel roomy that is), and I got plenty storage space.
Each side is one big unit, build completely form birch ply, 9mm and 15mm. I’ve build a ledge into the structural design so nothing will slide out if left open when driving. I’ve tried to use as little material as possible, while maintaining a strong construction, as they are mounted so high, I wanted to limit the amount of weight, to minimise how top-heavy the van ends up being. I figure that will make a difference on bumpy roads, and in heavy winds perhaps.
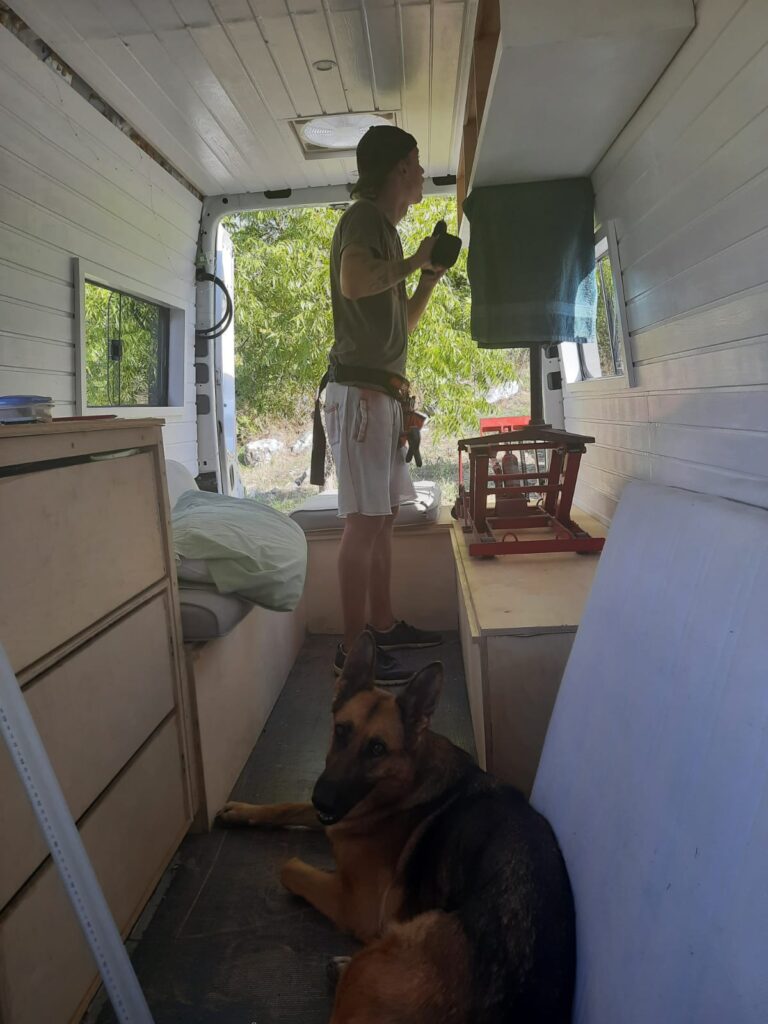
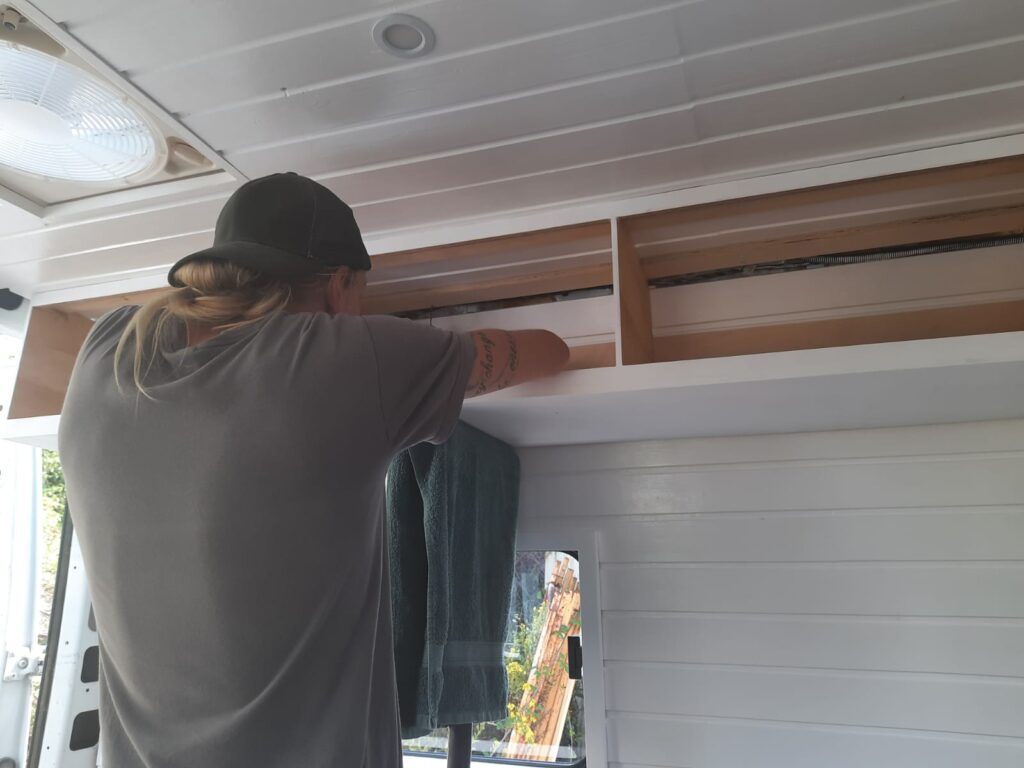
They’re lifted in place with a motorcycle lift (I happened to have one kicking around) as this really is a three people job, and we were only two. They’re screwed straight into the metal support of the roof, and through the wall tongue and groove, and into the slats behind.
The doors are on these strut things, that keep them open, so you don’t have to hold them up with your nugget. And there’s little locks on them all, so in theory, they should stay shut during travel. But let’s see when I put it all to a test a month or so from now.


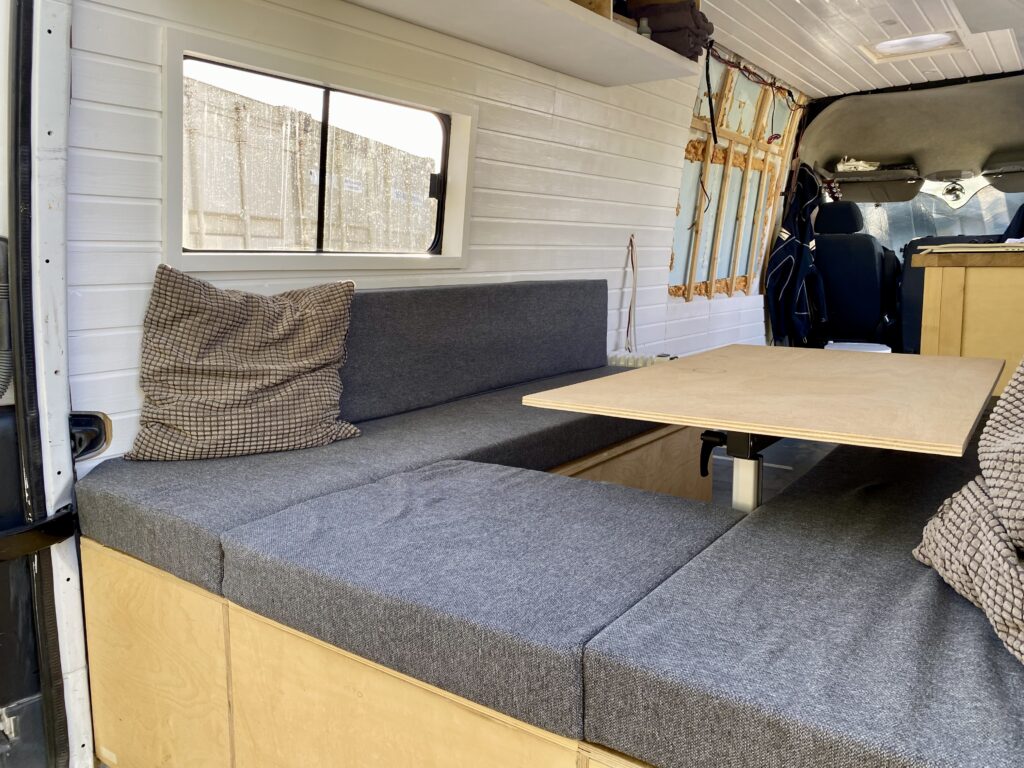
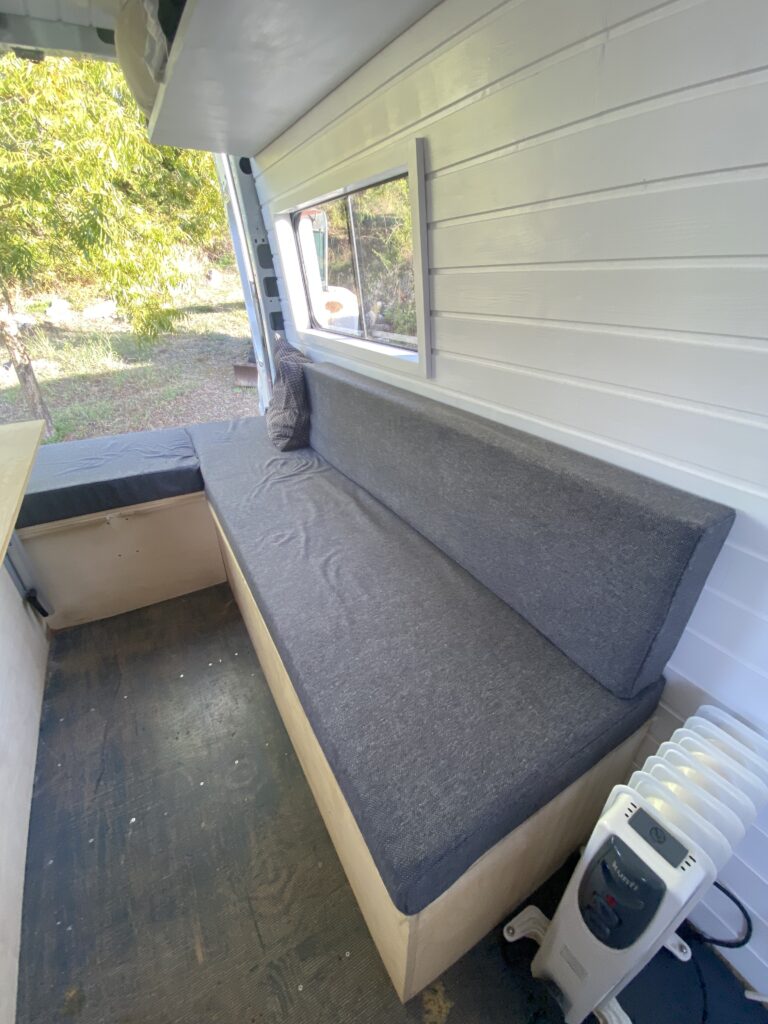
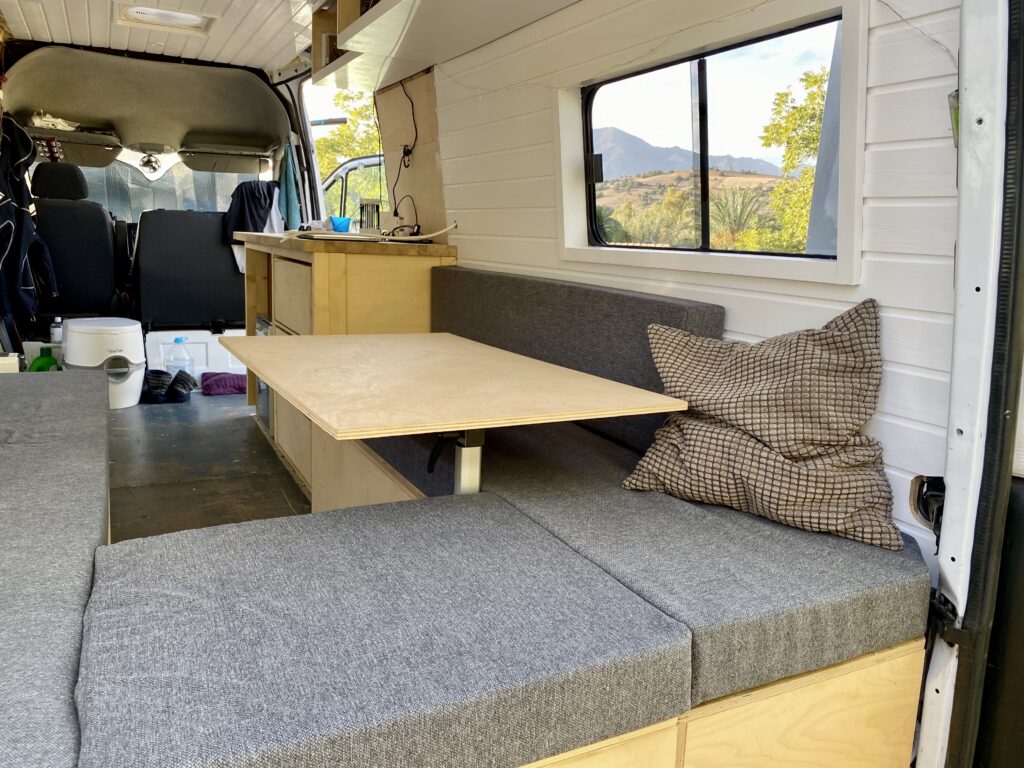
Cushions
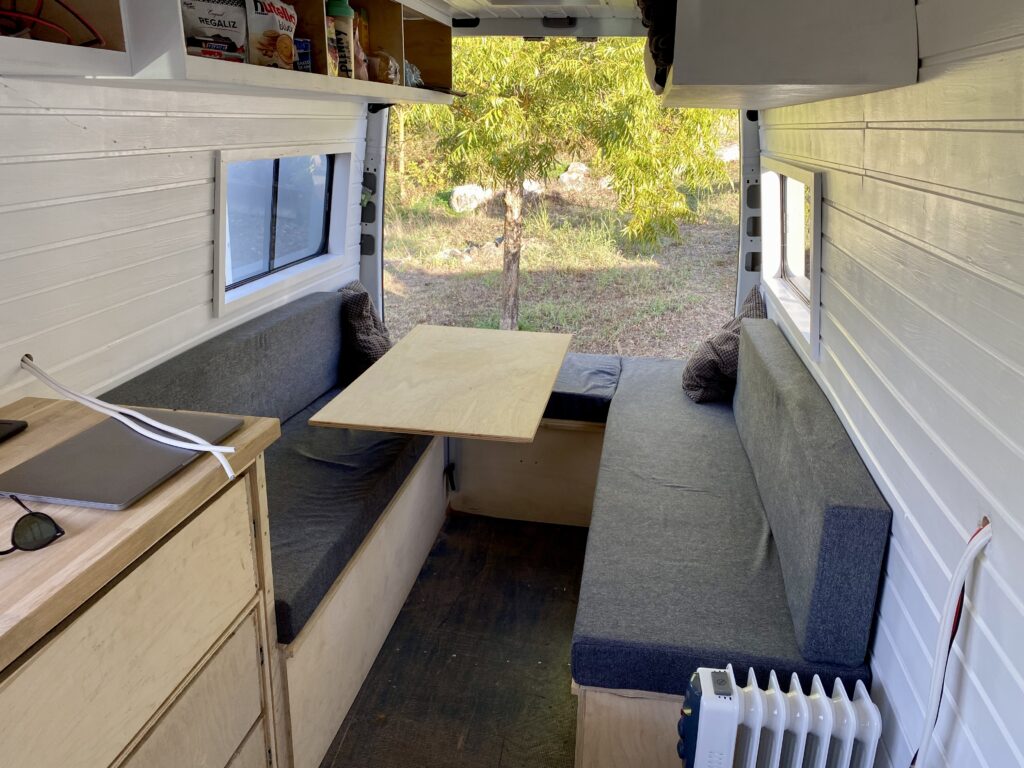
Okay, I admit it. I did not make these. It’s one of the only things in the van, I didn’t build or make myself. But it seemed like a no brainer. Getting a sawing machine, a foam cutter and learning all that, for this? Nah, I found a great guy locally who whipped these up for me, and I love them!
The foam is fairly firm, yet comfy. They are soft and feel exactly as something you’d find in an expensive furniture store. Yet they’re water resistant, and you can unzip all and wash them! A must with a big German Shepard, I am sure, even though she’s “technically” not allowed up on them…
And as you can see in the gallery below, they perfectly make a full double bed when converted!
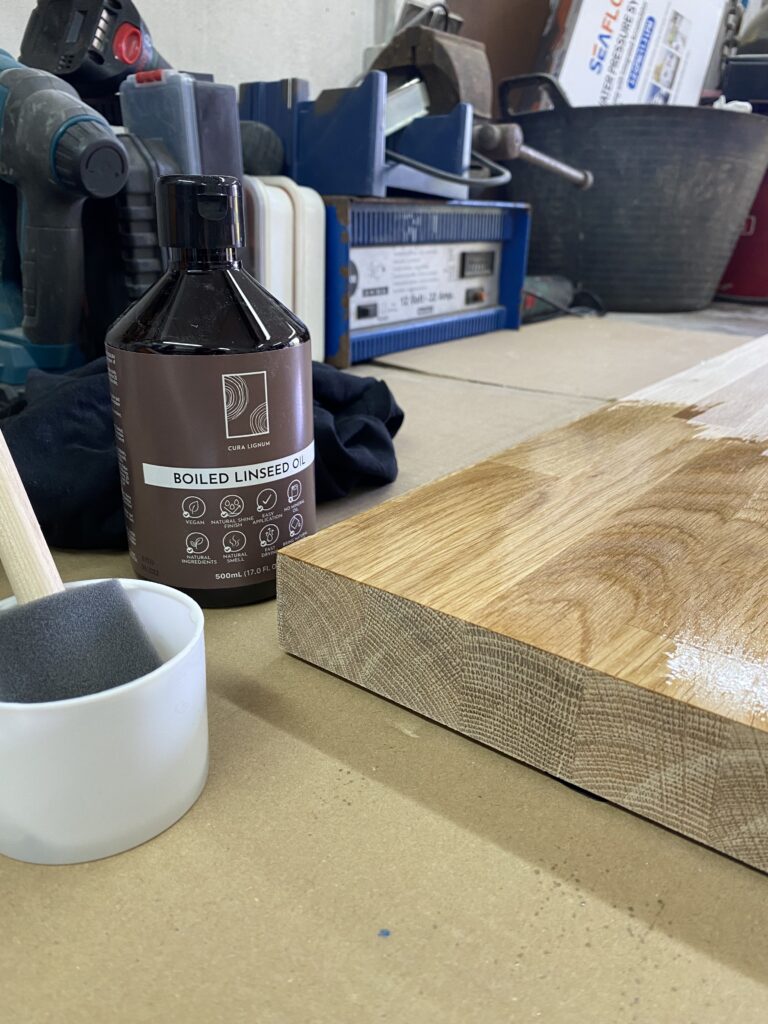
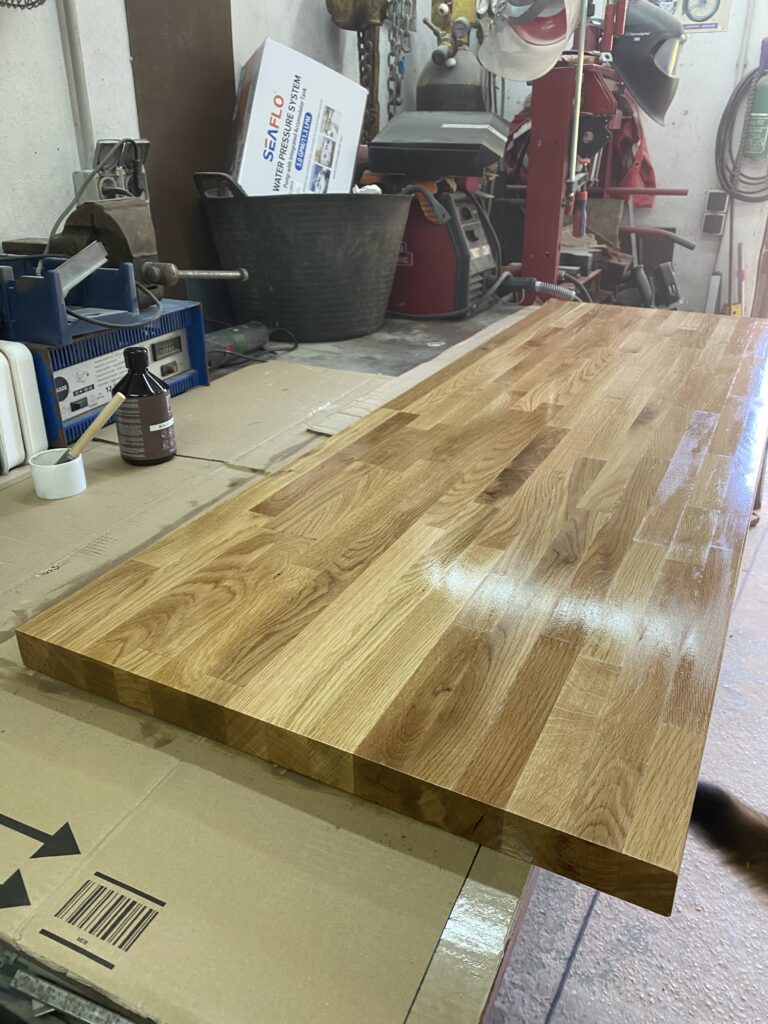
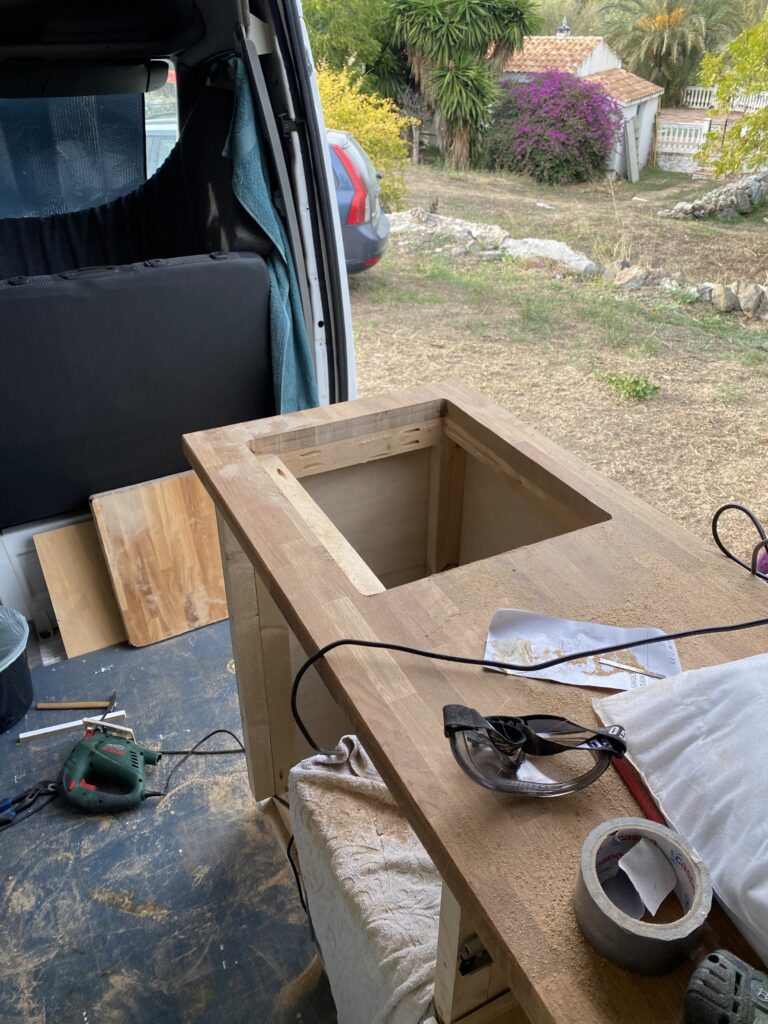
Countertop
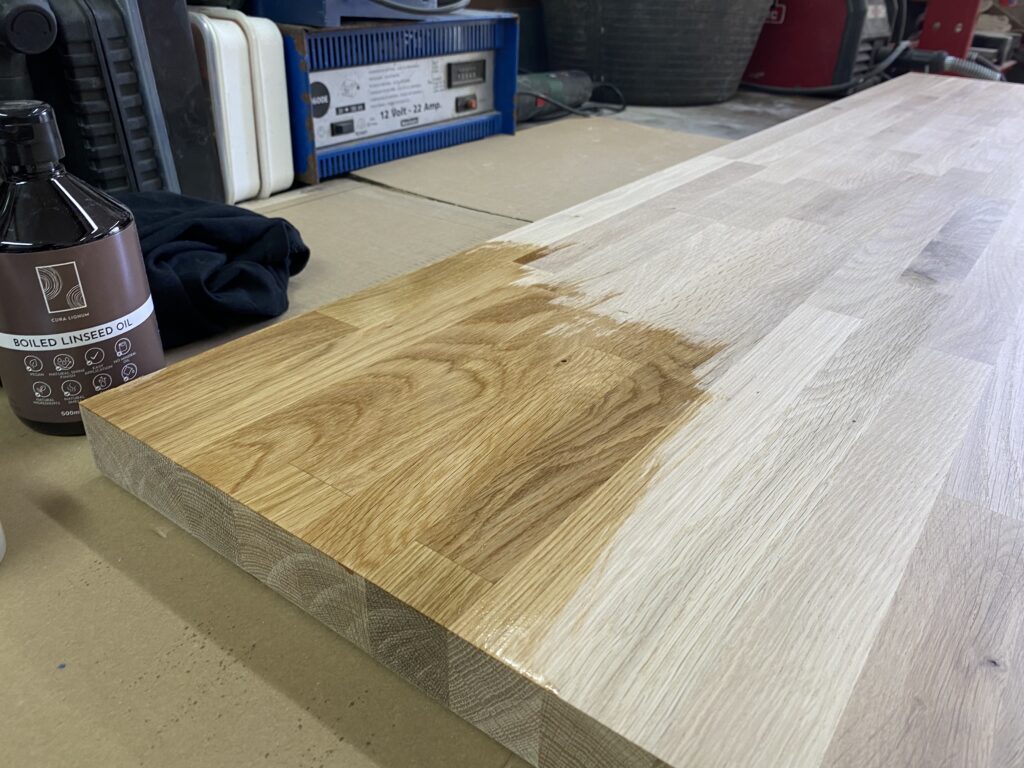
What an enjoyable process this was. From picking up that huge slab of solid oak strips, sanding away for hours, and then oiling it all with a food safe linseed oil. The pictures above and below speak for them selfs, how amazing does that look!
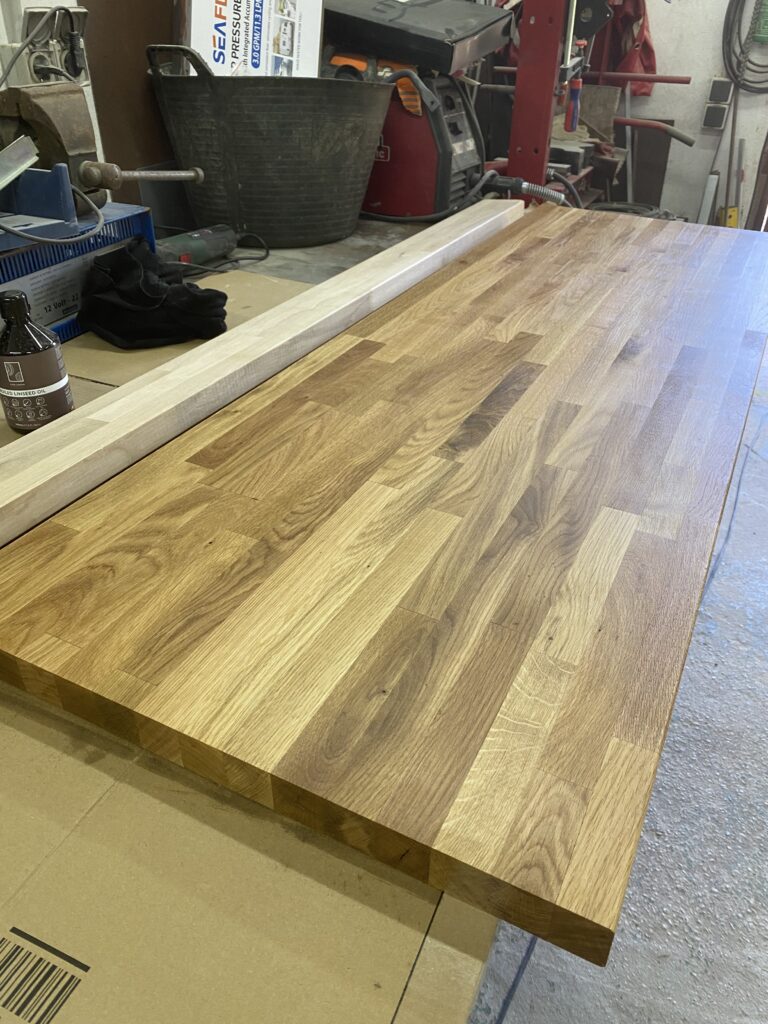
It took a while to cut as I wanted to not only double check my measures, but I probably checked them 10 times. This is a cut I did not want to get wrong, as a piece of wood like this, ain’t cheap! On top of that, I cut this real slow to make sure it was as smooth as possible. It turned out amazing!
I used the leftover piece as countertop on a dresser I build later on the other side of the van – more on that in a later blog.
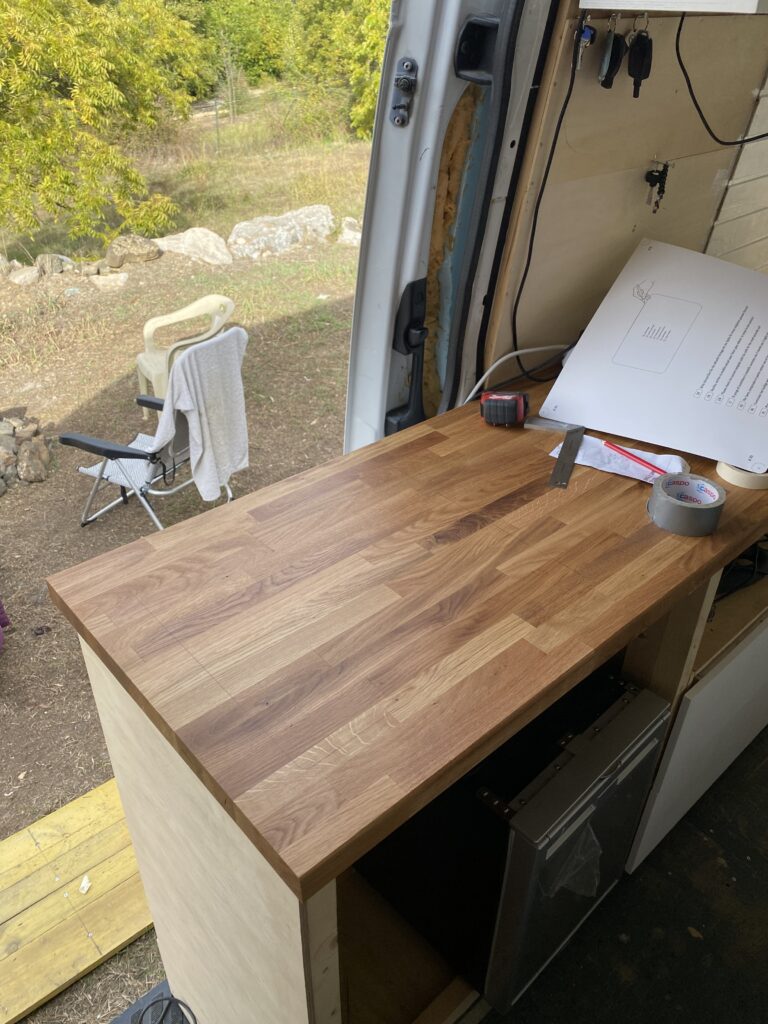
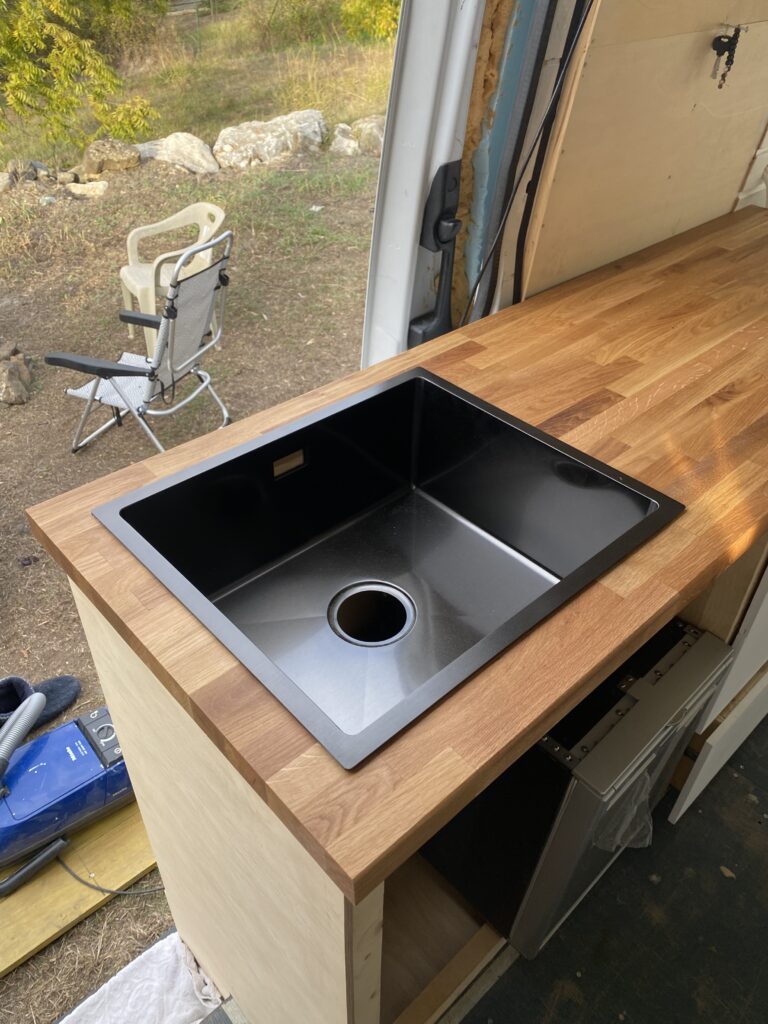
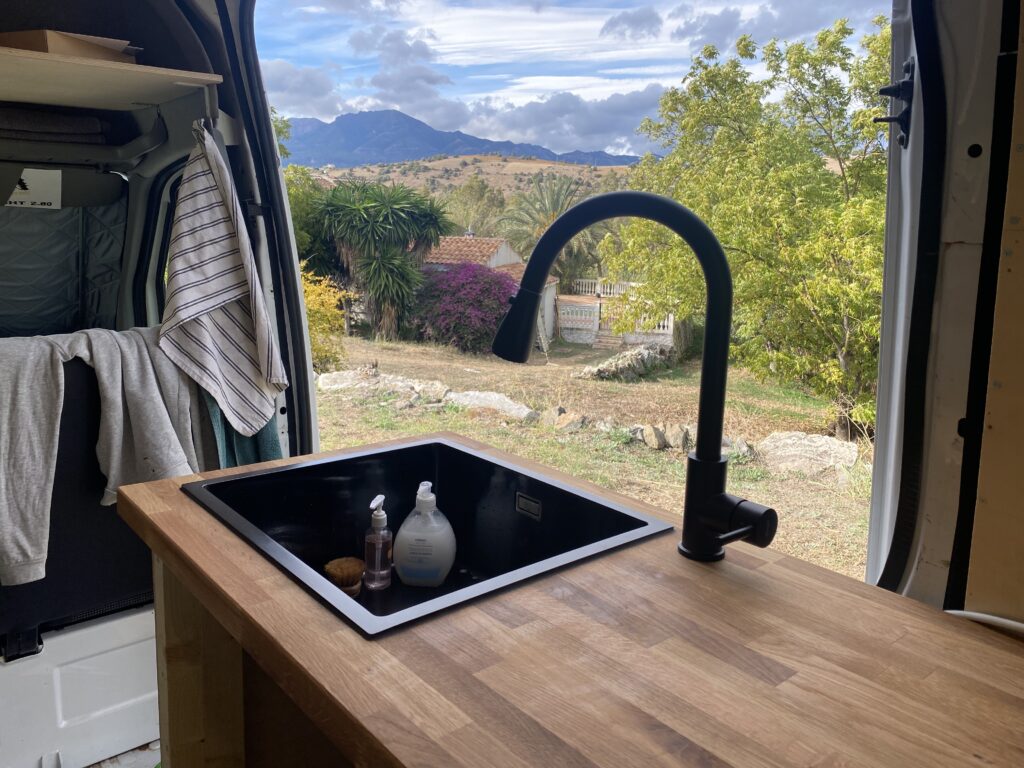
After having installed the piece on the kitchen framework, I had to cut a huge hole for the sink. This was not only a little scary because it’s an even more painful mistake to make if I cut incorrectly here, as I’ve already spend a huge amount of time sanding, oiling and installing. But also because the sink only JUST fits! With a kitchen section this narrow, there wasn’t a lot of sinks that fit my needs – a fair size, deep and black. But after a lot of sweat, blood and yelling, I got it in there in the end. And paired with that mat black faucet, it looks just amazing.
This is where I think I really started to understand that converting a van is all about “making it work” even though it technically wasn’t meant to.

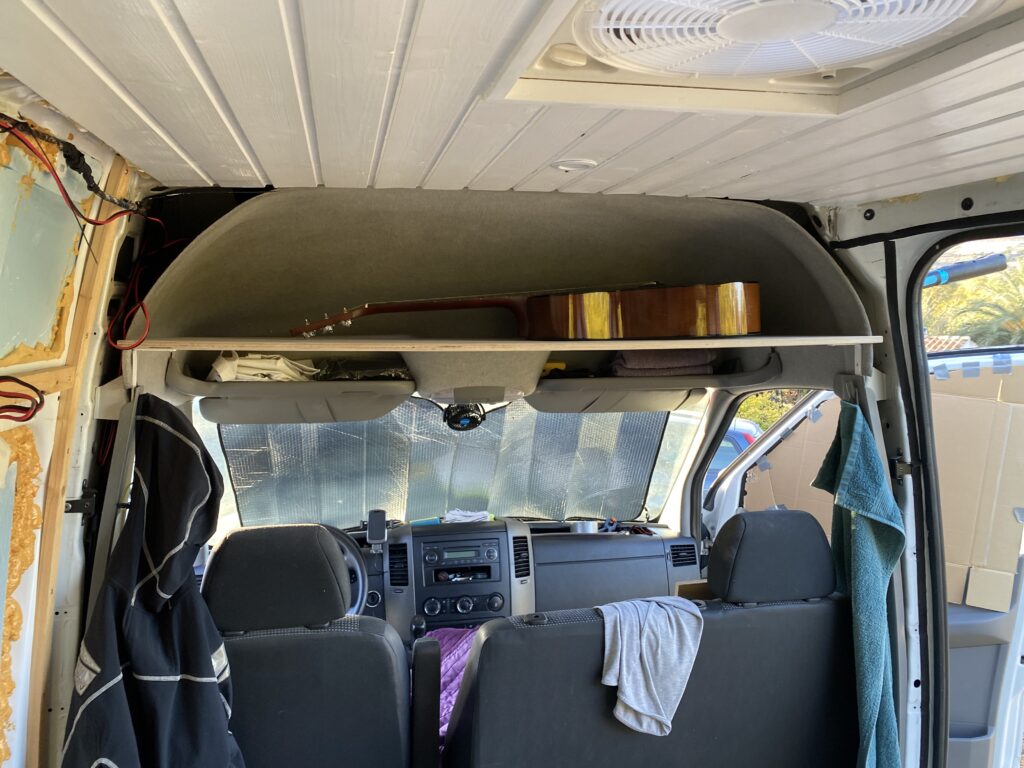
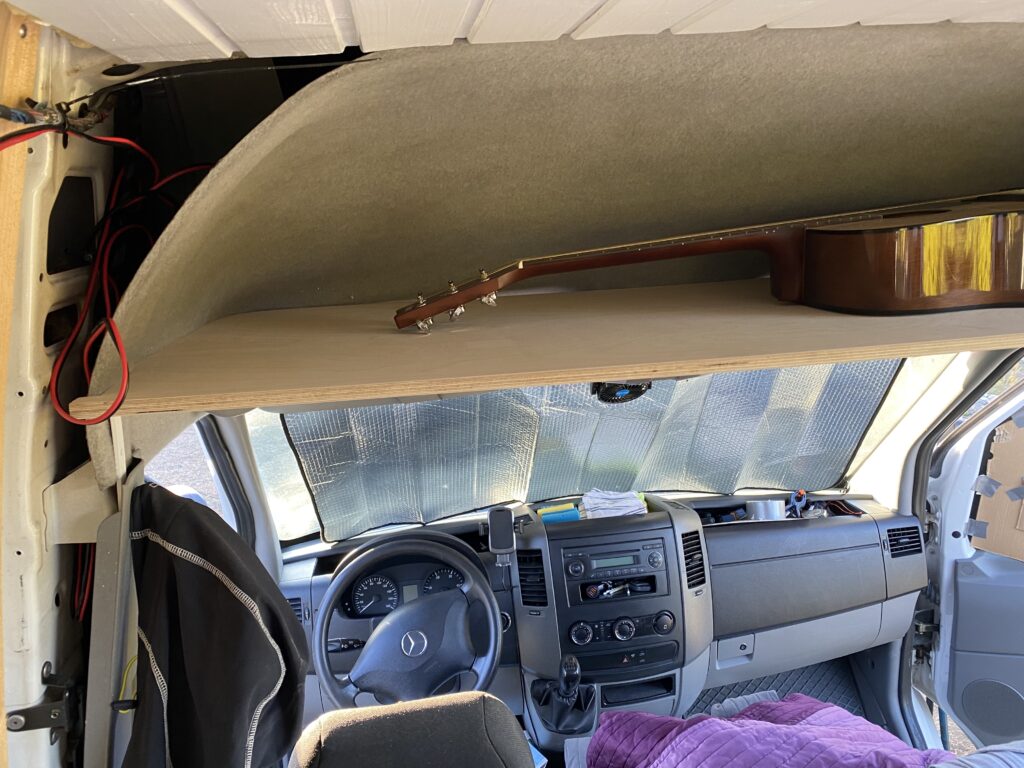
Headliner
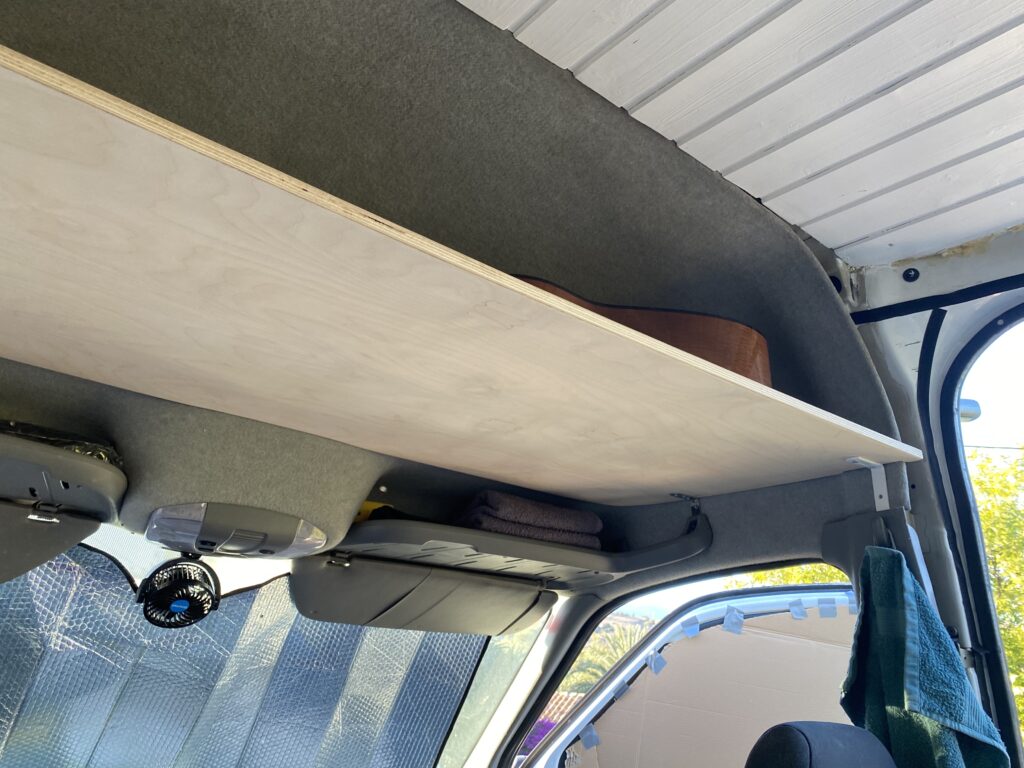
Last project on the agenda was actually one I did a little while ago, but forgot to tell y’all about! So here’s my headliner self!
Most vanlifers will tell you that space is at a premium, and therefor the HUGE room left over your head when sitting in the drivers seat, is a colossal waste. So it’s very common to see headliner shelves like the one I made.
You do not notice it at all when sitting in the drivers seat, yet it gives it an absolutely enormous amount of storage. I now use this space to keep all my bedding plus some extra blankets.
I am still deciding on whether I should paint it, and if so, what colour. Suggestions?

Alright, that’s all for this time guys! It’s been a super hectic couple of months with the build, but I am slowly making my way into the final stretch! It’s currently start January 2022, and my goal was to finish the van before end of February. And I think I can make it! With a bit of luck, I may even finish a few weeks ahead of time.
So here’s to an incredibly exciting 2022 for me and Loba – we cannot wait to hit the open road together, and if you wanna follow along, we’d be very happy to entertain you. Catch us on Instagram!
I’ll see you all in the next one, and thanks for reading along! If you have any questions, feel free to say hello@thevanture.co. 🤙