Hi everyone, and welcome back.
Lots have happened since my last progress update, so let’s dive in and take a look.
Tongue & Groove
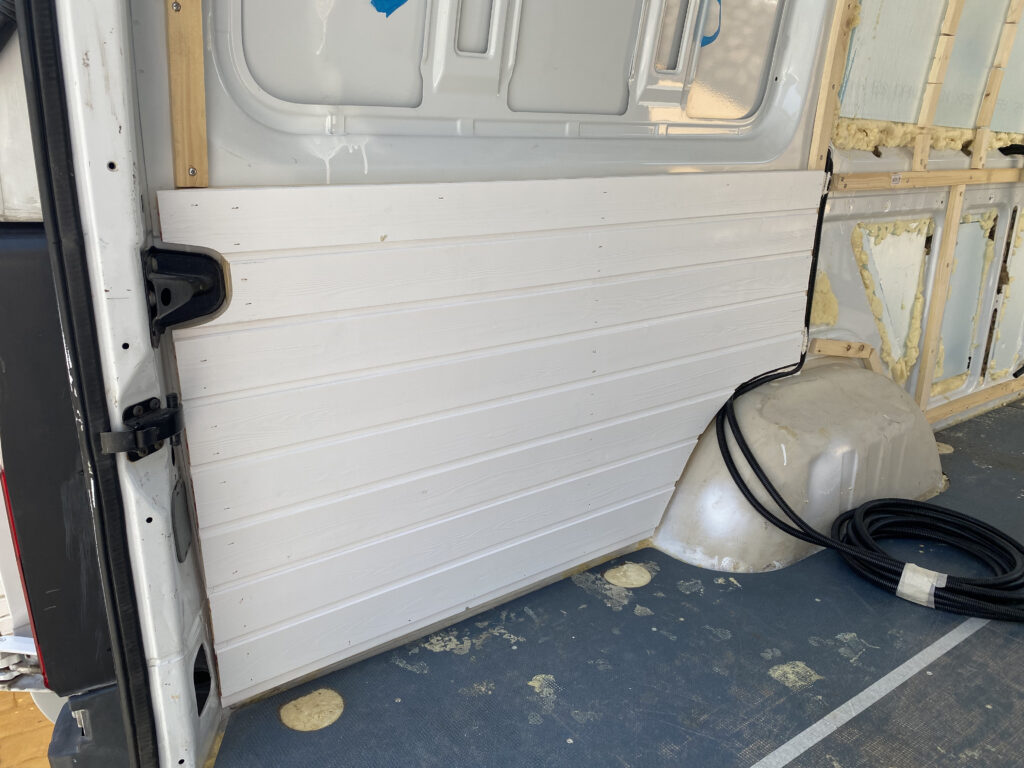
The first thing I needed to work on after all the strapping on the walls and ceiling was done and insulated, was the tongue and groove pine boards, that will cover pretty much the entire inside og the van. Above it a picture of the very first section I completed, all cut on the table-saw, and nailed into the strapping with the nail-gun using brad nails.
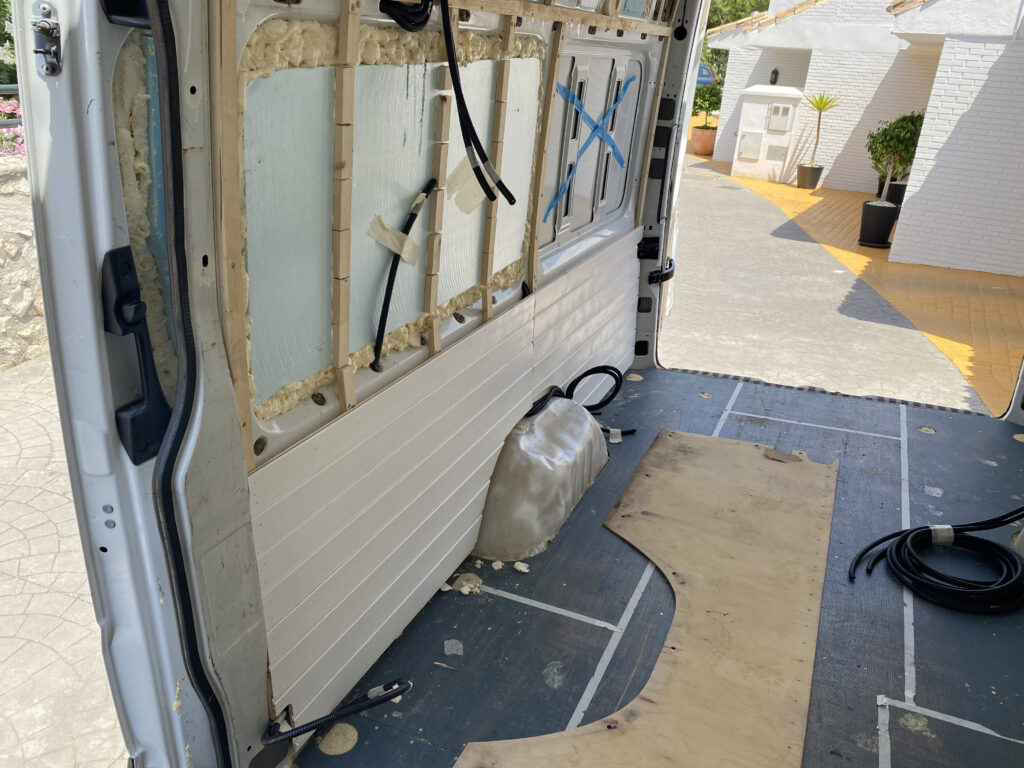
I used the old side-panels as a template to cut around the wheel well. 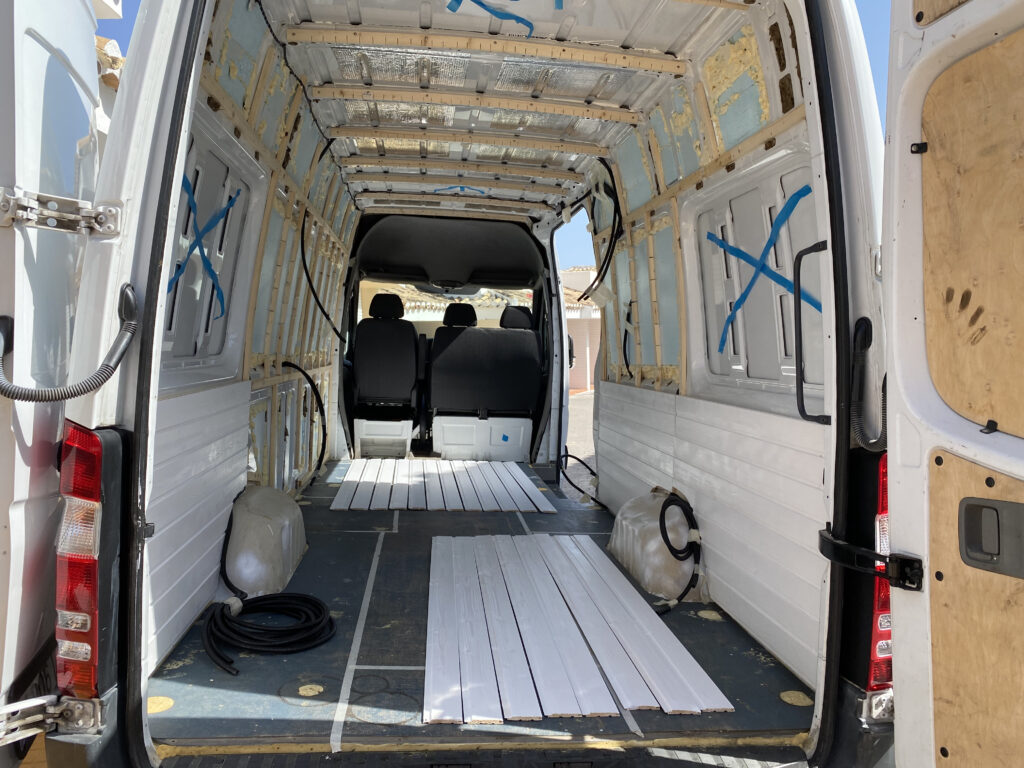
I continued to cover the bottom half of both sides, and stopped there as I had to cut and install the windows before I could continue any further up, and I couldn’t start the ceiling before I had cut and mounted the roof vents. So onto building the benches!
Benches
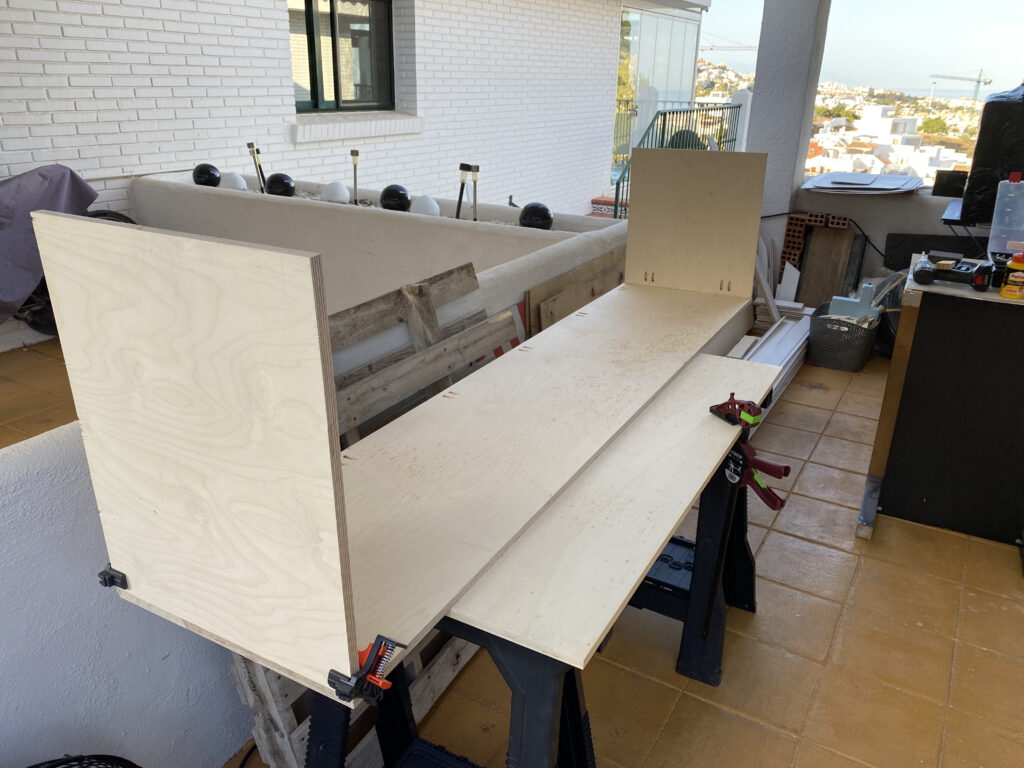
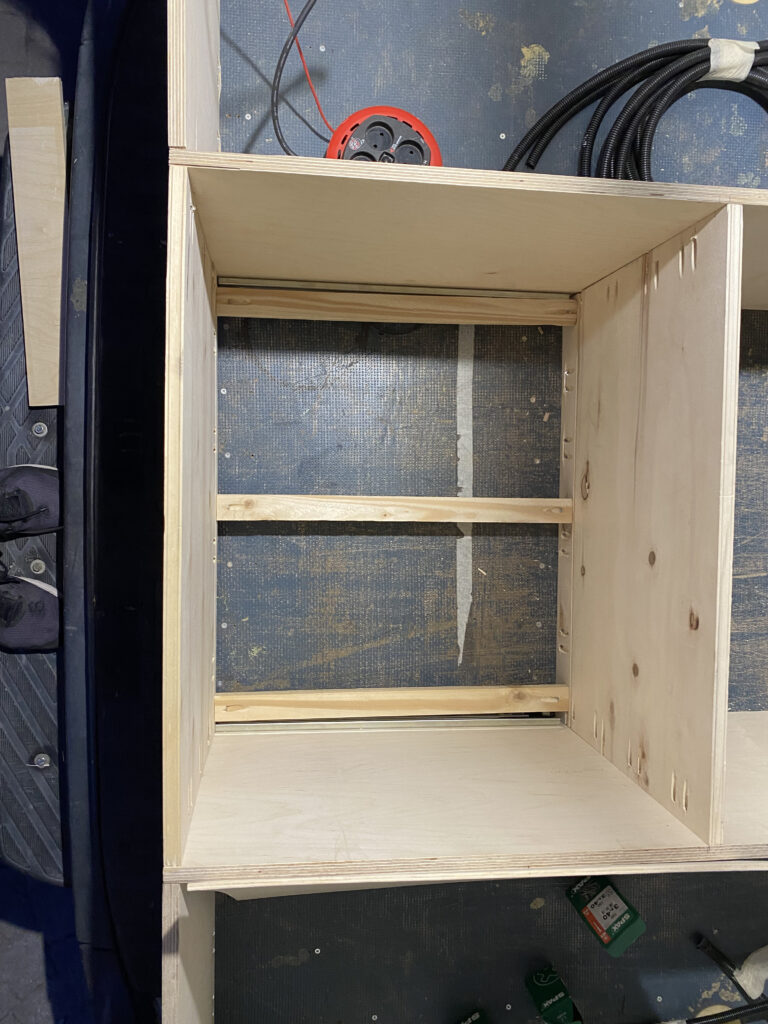
I had to build two benches that will sit on either side of the van, which will convert into a bed. More on the bed side of things in a future post. Both benches are build with 15mm baltic birch plywood to give it the best strength and give the screws good material to bite into. I did this as there would be a fair amount of weight on these, potentially 2-3 people on each bench at the most. All jointed together with pocket-holes.
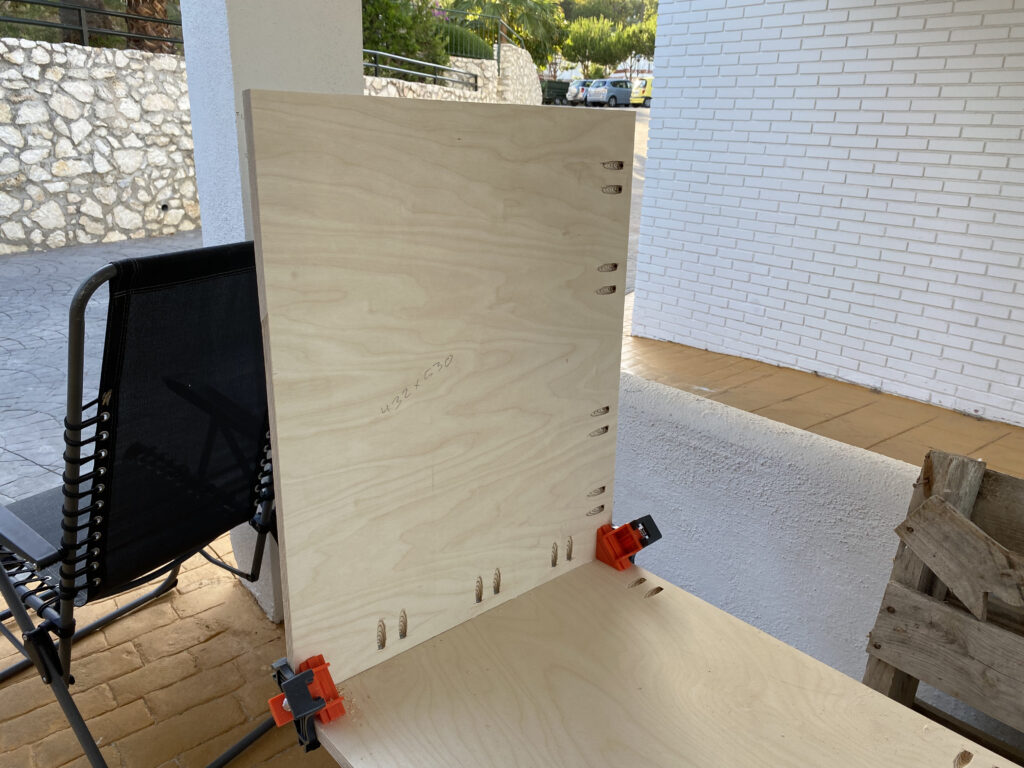
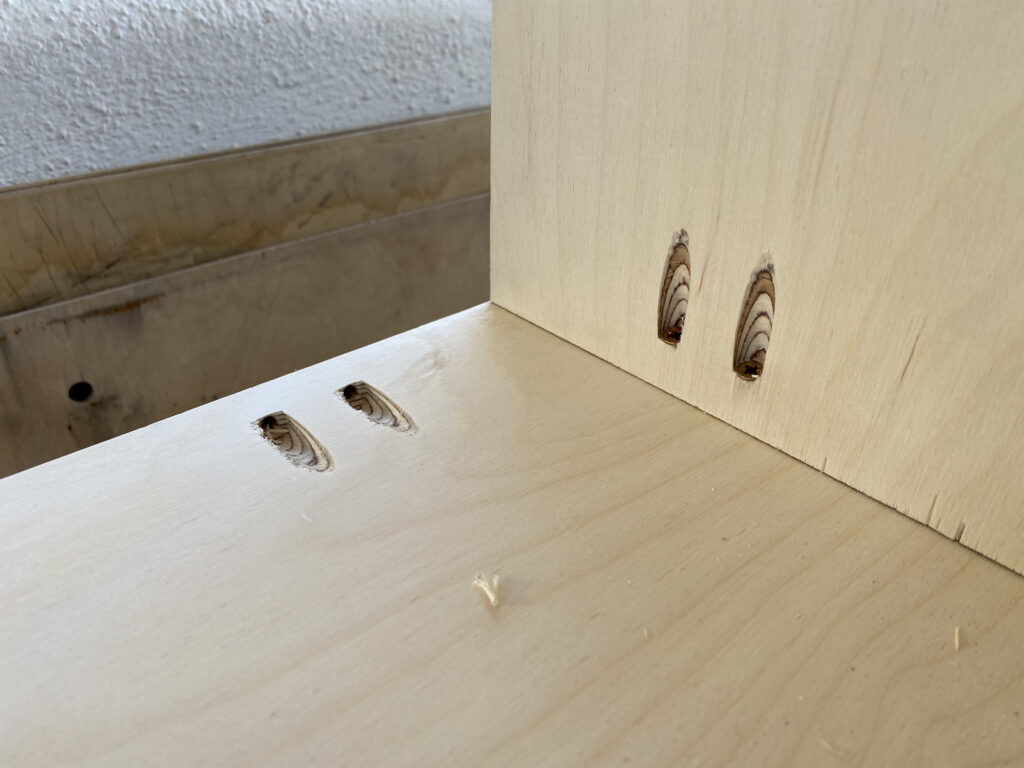
The benches are screwed into the floor using pocked holes again, but longer screws. They are also screwed intro the tongue and groove using picket holes. When all this was complete, the benches felt rock solid, and didn’t move at all.
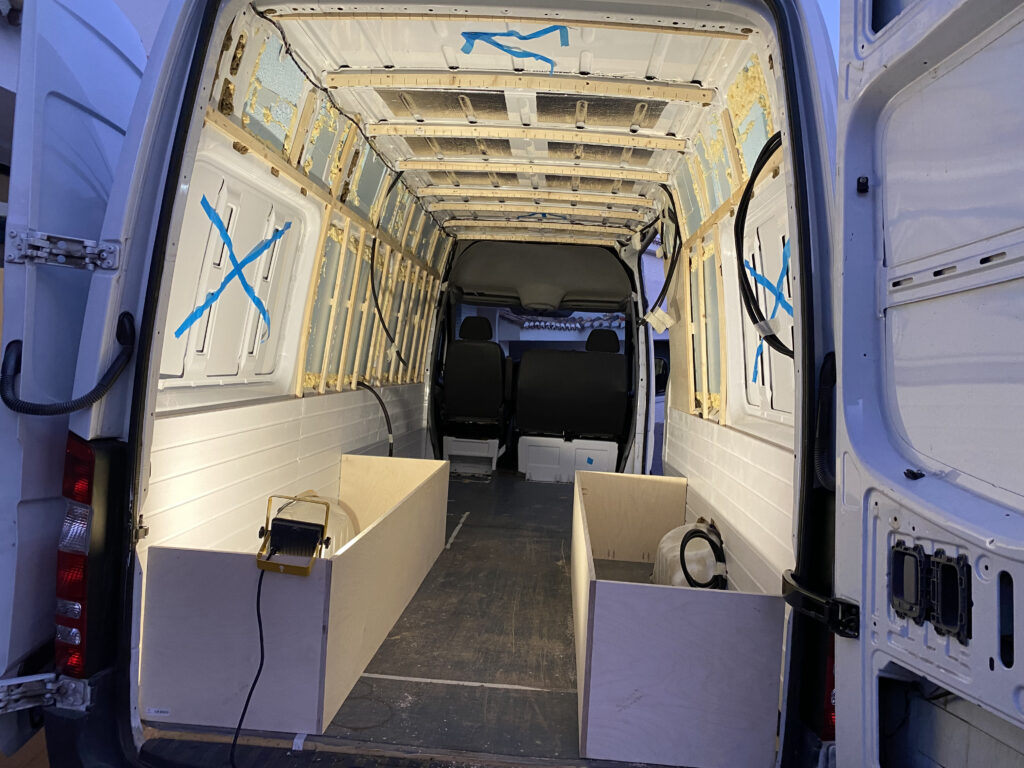
The benches needed lids which I cut from the same 15mm ply and mounted them on extension hinges with gas-struts. Here you see the slim pieces of ply that goes along the van walls, giving the lids something to sit on, and the hinges to attach to.
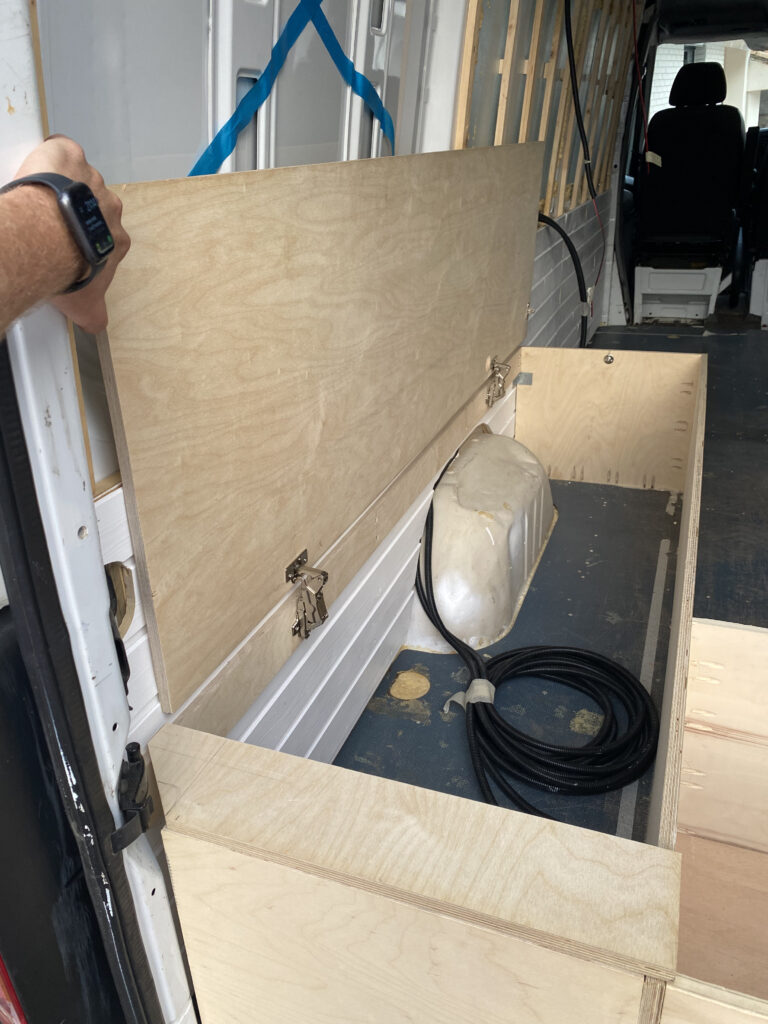
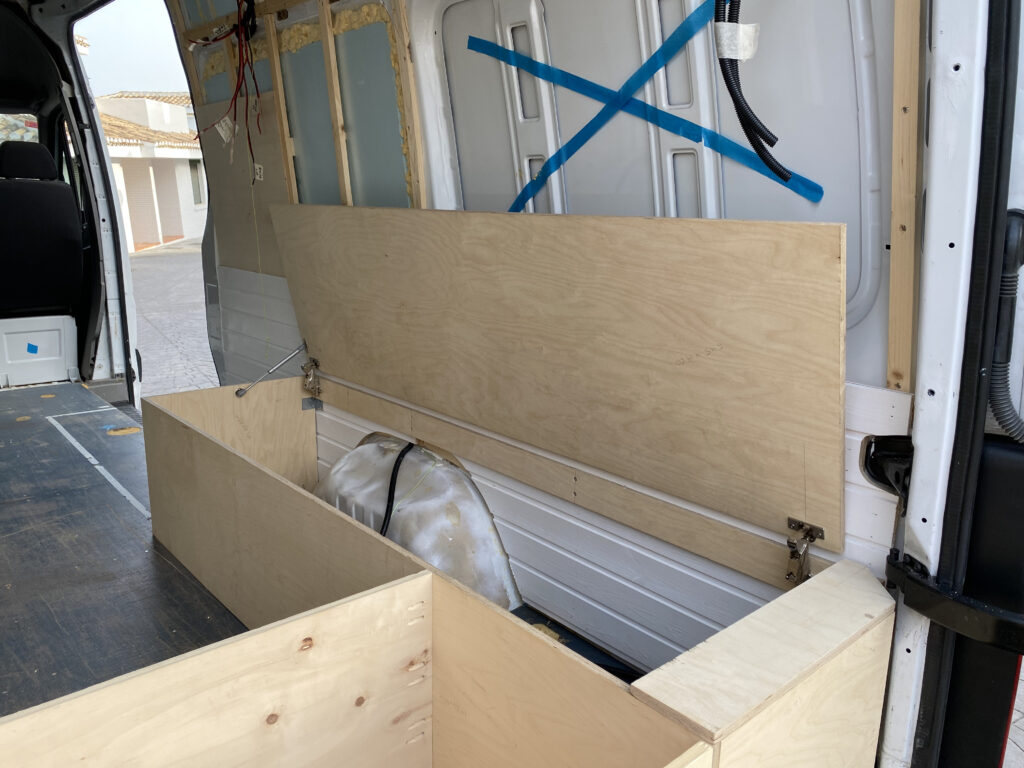
I decided to close the end of the benches off with a 500mm section, effectively connecting the two benches together into a U-shape. I did this to increase storage space as I do not have a “garage” (with permanent bed setups, there typically a ton of storage underneath, which I won’t have with my setup), and it gives me an extra seat, a more convenient place to fit the table mount, and it makes it easier to run wires or tubes from one side of the van to the other, should that be necessary in the future. Another bonus from this design is that it made it possible for me to fit some sliders under a false bottom in that midder section, that eventually will hold a table that will slide out the back, when some outside table is needed in the back.
Fasle bottom 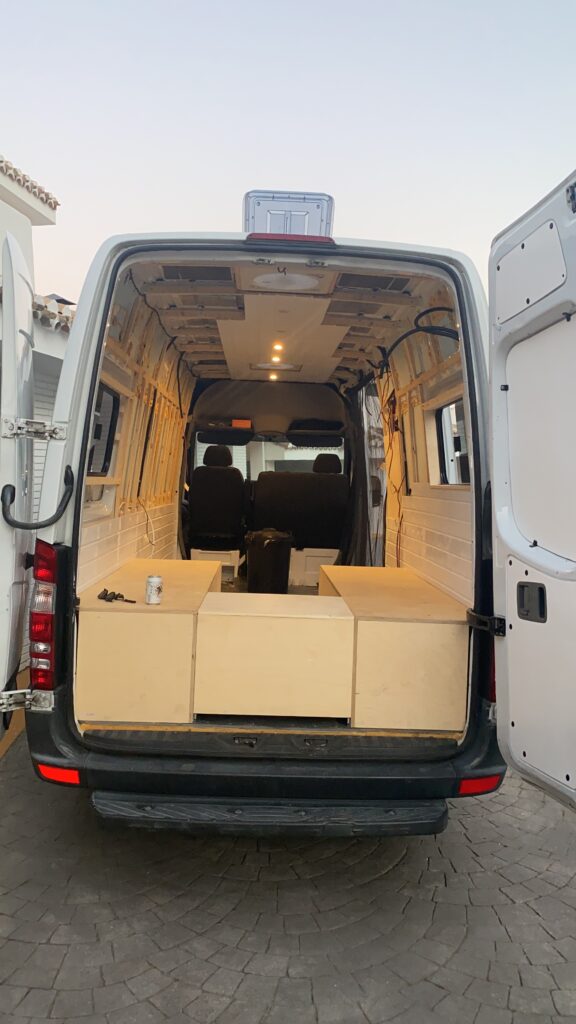
The little slid/space is where the table will be
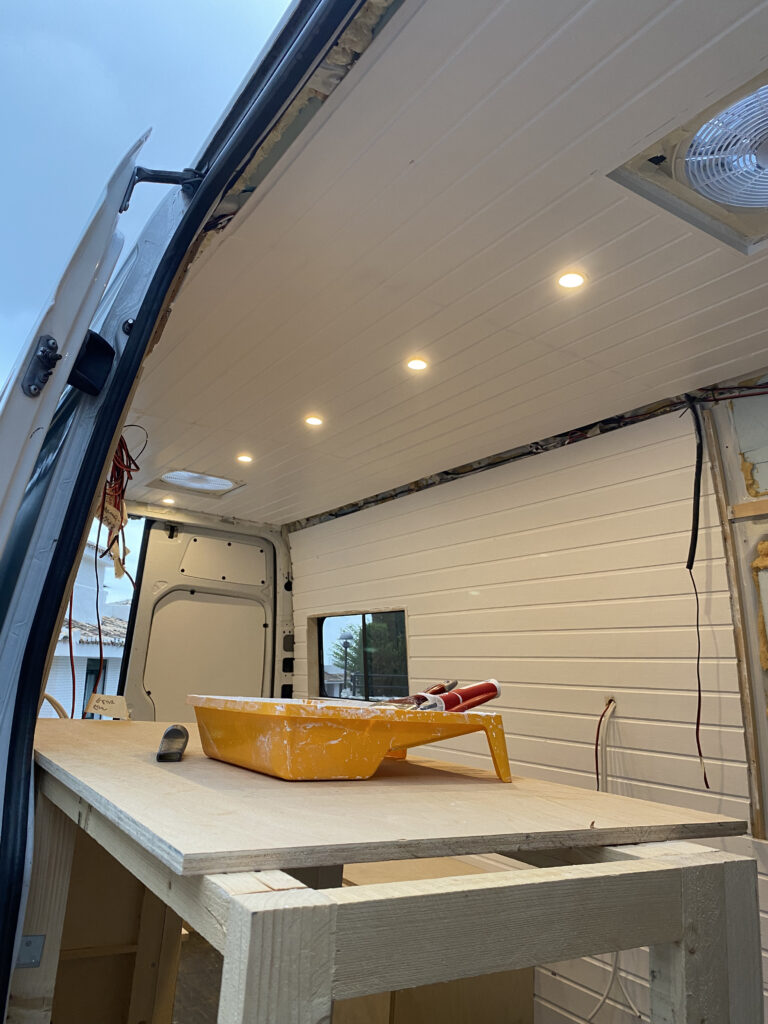
Roof vents & windows
The scary bit… Yep, if you’re looking to convert a van, this is probably one of the steps you’re slightly nervous about. Cutting holes in your van sound scary, but it is really not that hard.
I chose to put 2 slider windows in, one on each side and 2 roof fans, one front and one back. The idea is that the fan in the front will be able to suck out any steam from the shower when that is in use, and any food smell etc if I am cooking indoors with shut doors. The fan in the back is blowing down on the benches/bed area, giving that area a cool breeze. And if I set one fat to pull and the other to push, that should give me a bit of air circulating.
The two roof fans are Fiamma Turbo 160’s, 40x40mm, with a tinted plexi top, so they let in some light as well. They also come with build in mozzy net. They’re from a local online store called D’CAMPER and you can check them out here.
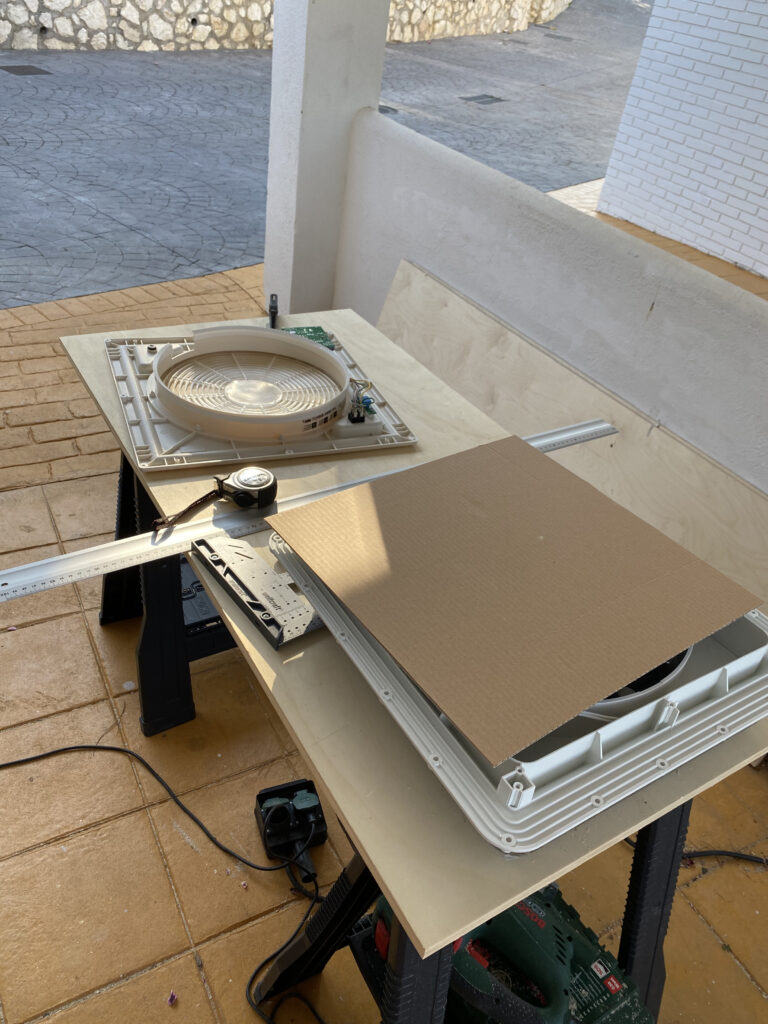
Cutting a cardboard template is a good idea 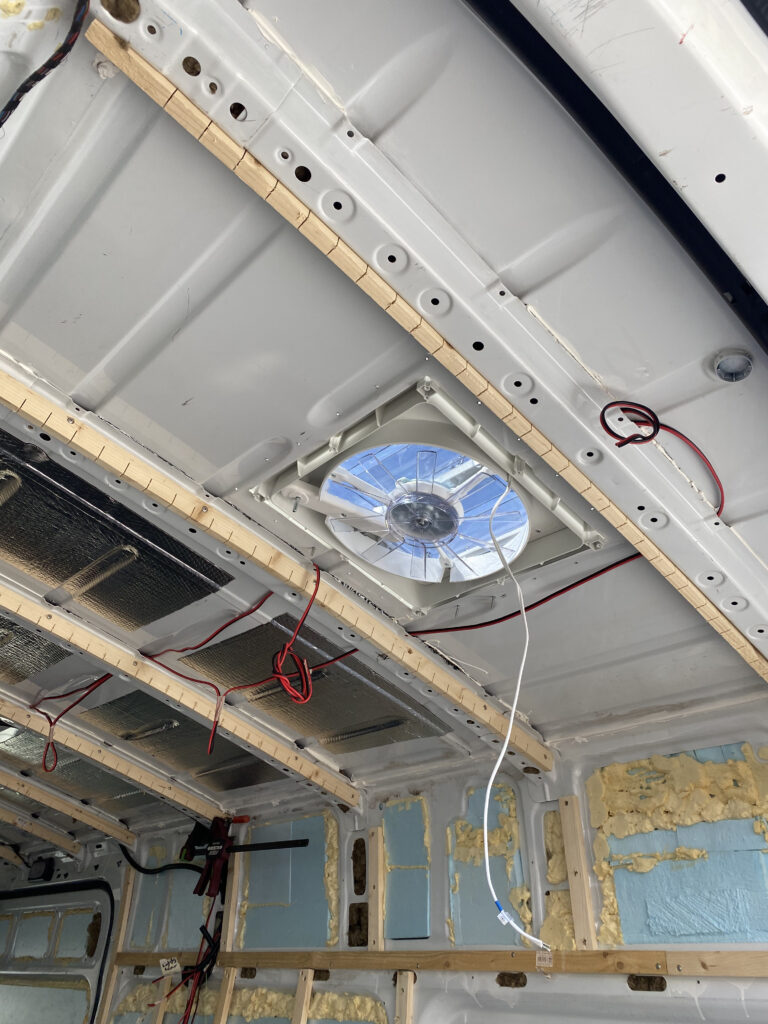
Without frame and cover 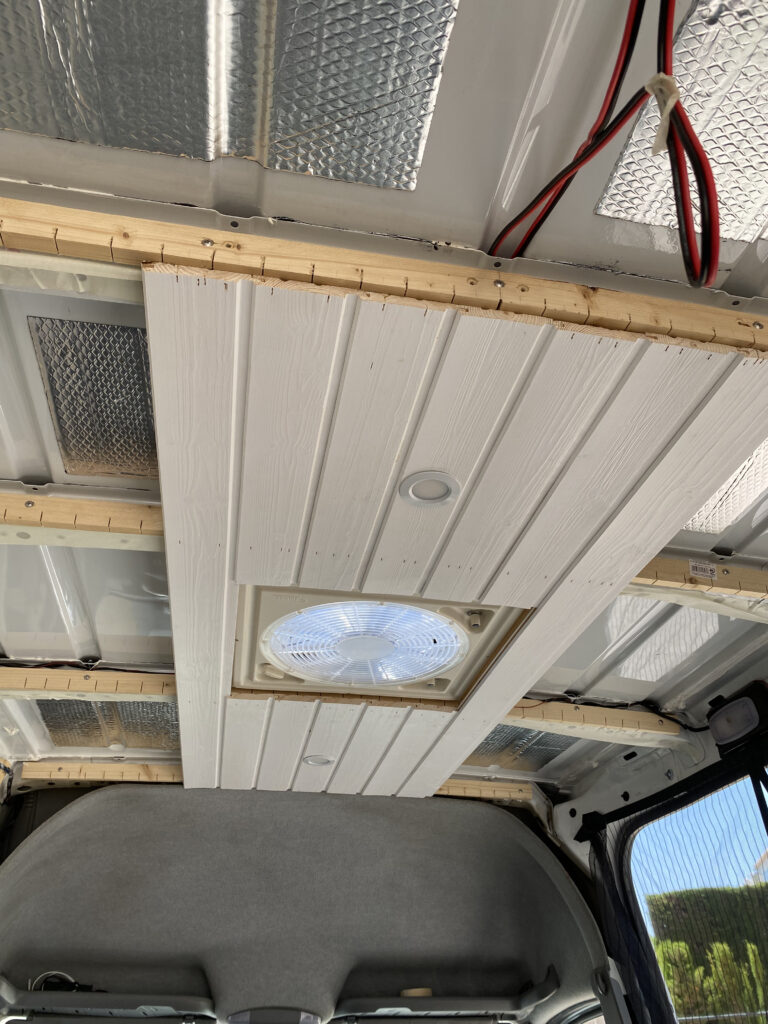
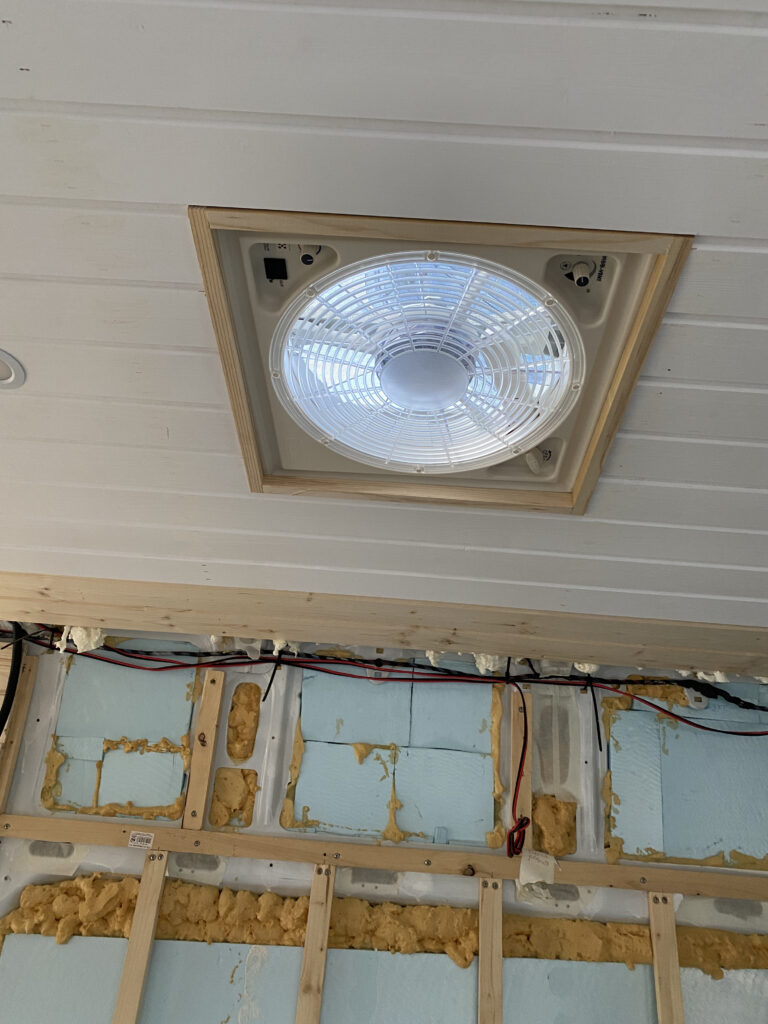
Here’s the trim fitted, and just miss some paint
The two windows are sliding ones and can be opened from the inside only. They are super sleek looking and gives me much more light inside the van when doors are closed, and they provide a fair amount of airflow when open. They’re also slightly tinted, and they’re on black frames which I thing blend in great with the rest of the van.
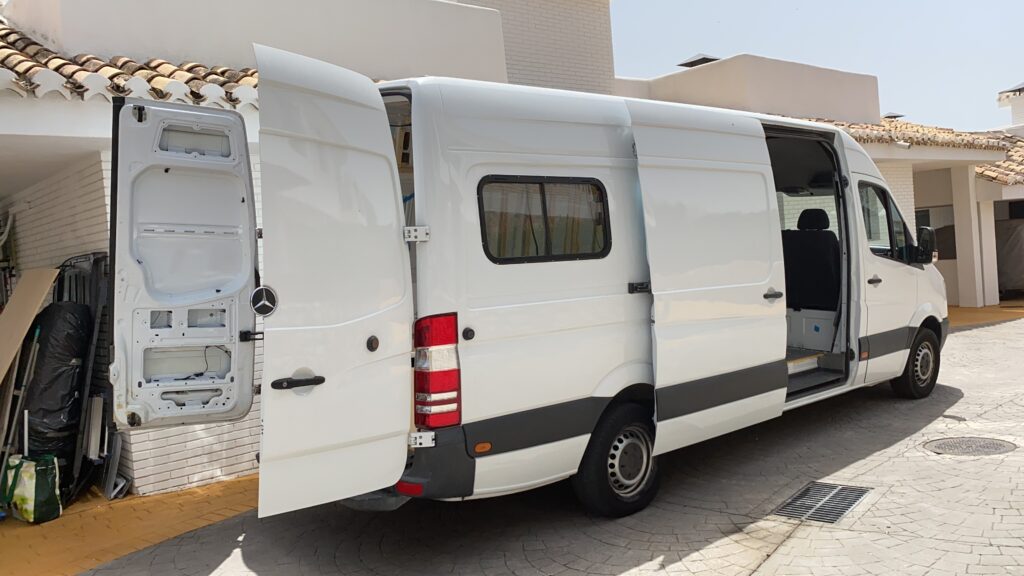
The windows are 960x450mm, also from D’CAMPER, and they were fairly easy to install. The key is to take your time, and measure a million times, to make absolutely sure you’re cutting the right hole, in the right place.
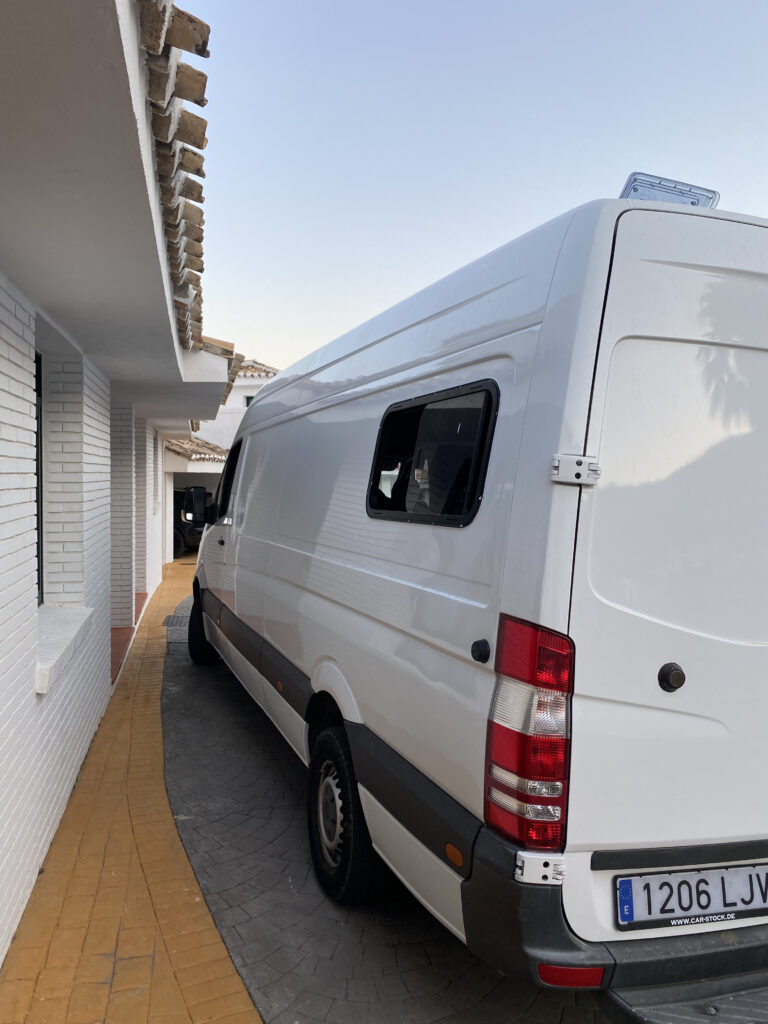
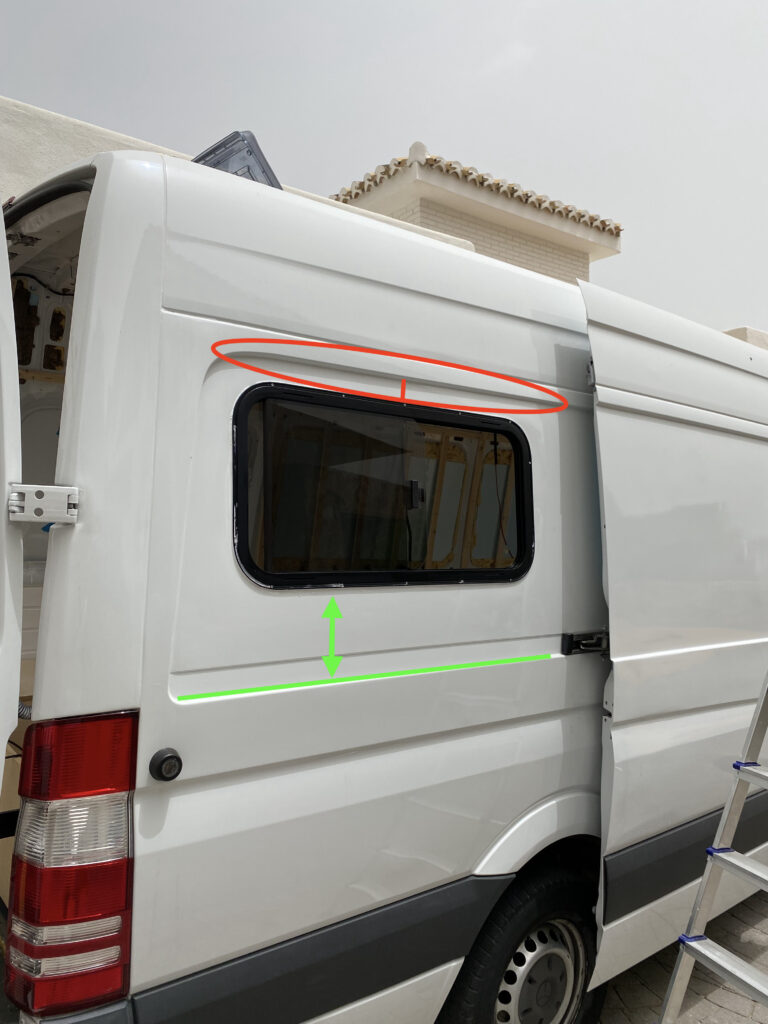
A little tip specifically to this generation of Sprinters, and probably a bunch of both older and newer ones is, to measure from the bottom ridge, the one the sliding door slider is aligned with. Not the top ridge, as even though it looks straight, it’s actually slightly curved downwards towards the back end of the van. If you measure using that top ridge, your window won’t be sitting straight. Below I’ve tried to show what I mean – red highlights the ridge you shouldn’t use. Marked by the green line and arrow, shows the ridge you should use.
What’s the current status?
This is how the van looks as of today, 20. August 2021. A bunch has happened, amongst other things, walls and ceiling has been finished and painted. But much more about that in the next blog.